
 Prep: 5
 This Limoncello Ice Cream recipe is inspired by my recent trip to Italy (opens in a new tab)! We had so much lemon gelato and lemon sorbet while we were there, and I knew I had to recreate it at home. Of course, I can’t find the MASSIVE lemons here in Oklahoma, like they had in Italy, but it’s still fun to create this healthy, higher-protein version at home. Light and sweet with a bright citrusy taste, you’d never guess this ice cream is made with yogurt and cottage cheese. My husband and I both agree that it tastes just like the versions we had on the Amalfi Coast!

Italy-Inspired Limoncello Ice Cream
Welcome back to my “Scoopable” series (opens in a new tab), where I’m recreating all my favorite ice cream flavors with a healthier twist. This time, instead of making a favorite childhood flavor, I’m getting nostalgic and transporting your taste buds to Italy. And hey, there’s no passport required!
If you’ve ever had gelato in Italy, you know it’s a whole experience. Every little coastal town along the Amalfi Coast seems to have its own lemon specialty, and I couldn’t get enough of it while I was there. I had lemon gelato, lemon sorbet, fresh limoncello, even lemon pasta! I came home determined to recreate that flavor, and this Limoncello Ice Cream recipe is the result.
It’s bright, super lemony, and unbelievably smooth, but it is made with yogurt and cottage cheese instead of a heavy cream base you’d find in traditional ice cream. You get the same silky texture as gelato, but with more protein. No one ever guesses this recipe is secretly good for you, and it’s so easy to make!
You’ll Also Love: Banana Pudding Ice Cream
Why You’ll Love This Recipe
- 5 Minute Prep – Just blend, freeze, spin, and enjoy!
- Simple Ingredients – There’s no need for preservatives or hard-to-find ingredients. Five kitchen staples are all you need.
- Healthy + Protein – This limoncello ice cream is free from refined sugar and has 11 grams of protein in a single serving.
- Great to Prep Ahead – I love Ninja Creami recipes because they’re designed for meal prep. I pretty much always have a pint or two prepared, leaving them in the freezer for an afternoon treat or late-night snack after the kids go to bed.
RELATED: Margarita Ice Cream
Ingredients
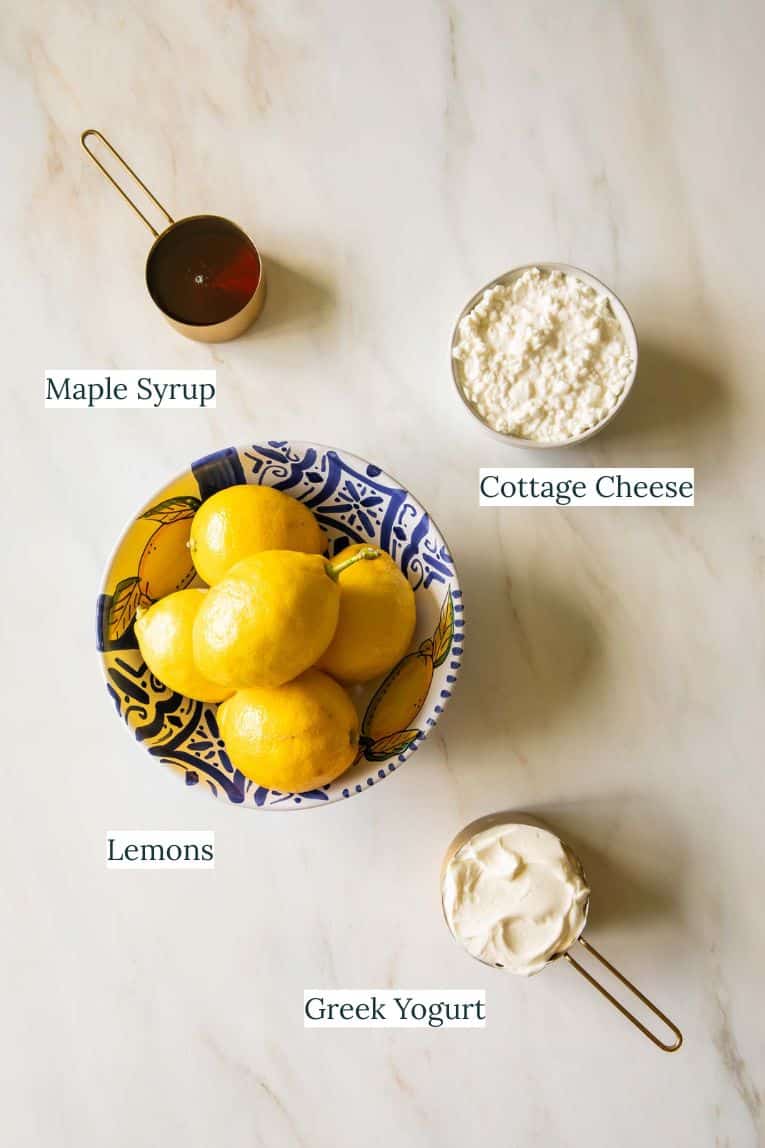
- Greek Yogurt and Cottage Cheese (opens in a new tab) – I use both for this recipe to prevent the base from being too sour or too clumpy. I recommend using both full-fat yogurt and full-fat cottage cheese for the best taste and texture, but low-fat versions also work.
- Maple Syrup – Adjust the amount of maple syrup to taste, depending on how sweet you want your ice cream. Honey can be substituted if preferred, but the flavor will be slightly more floral.
- Lemon – The star of the show! I use fresh lemon juice and lemon zest to recreate the bold lemon flavor limoncello ice cream is known for.
How to Make This Limoncello Ice Cream Recipe
This might be the easiest ice cream recipe I’ve made yet. All you need is a blender (opens in a new tab), two Ninja Creami pint containers (opens in a new tab), and a Ninja Creami (opens in a new tab). Here’s how to make the best Ninja Creami Limoncello Ice Cream Recipe:
- Blend – Add all the ingredients to the bowl of a blender, and blend until smooth.
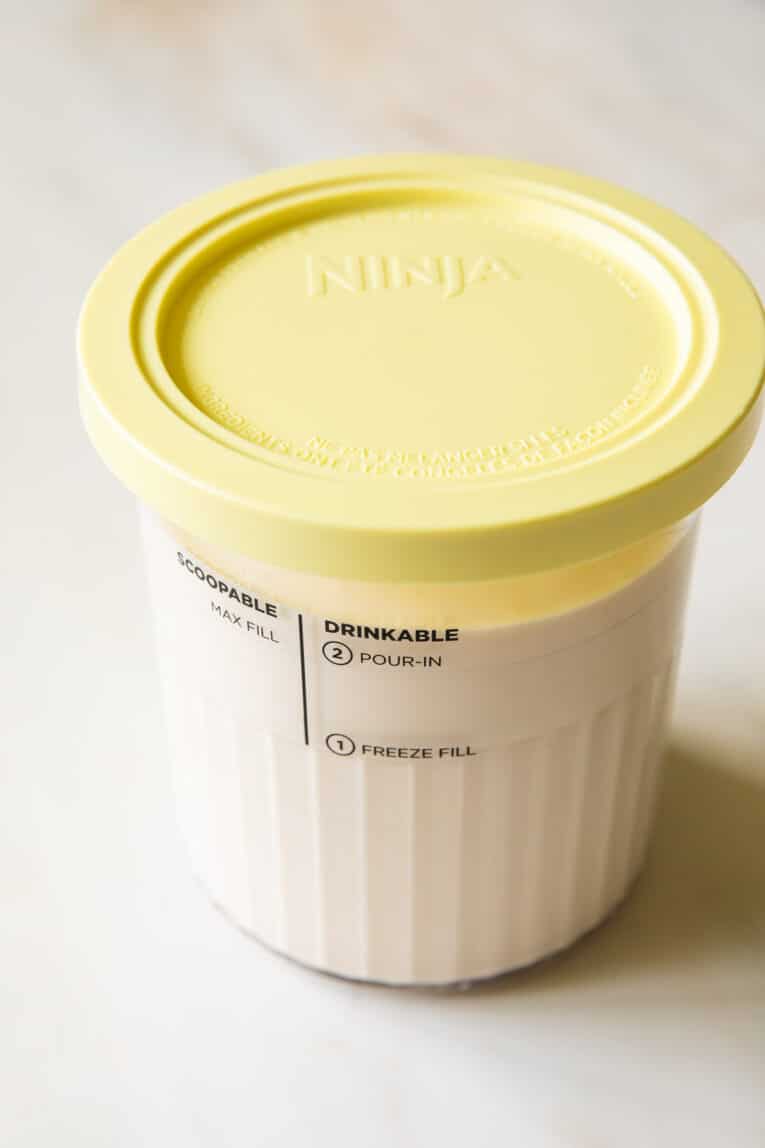
- Freeze – Divide the mixture evenly between two Ninja Creami pint jars, and add the lids. Then, transfer the pints to the freezer to chill.
- Blend – Place one pint in the Ninja Creami machine, and blend with the “Ice Cream” setting on full.
- Re-Spin – If your ice cream is powdery like mine was at this stage, use the “Re-Spin” setting to blend it again. Do this once or twice until you achieve a smooth consistency. I always re-spin my limoncello ice cream twice!
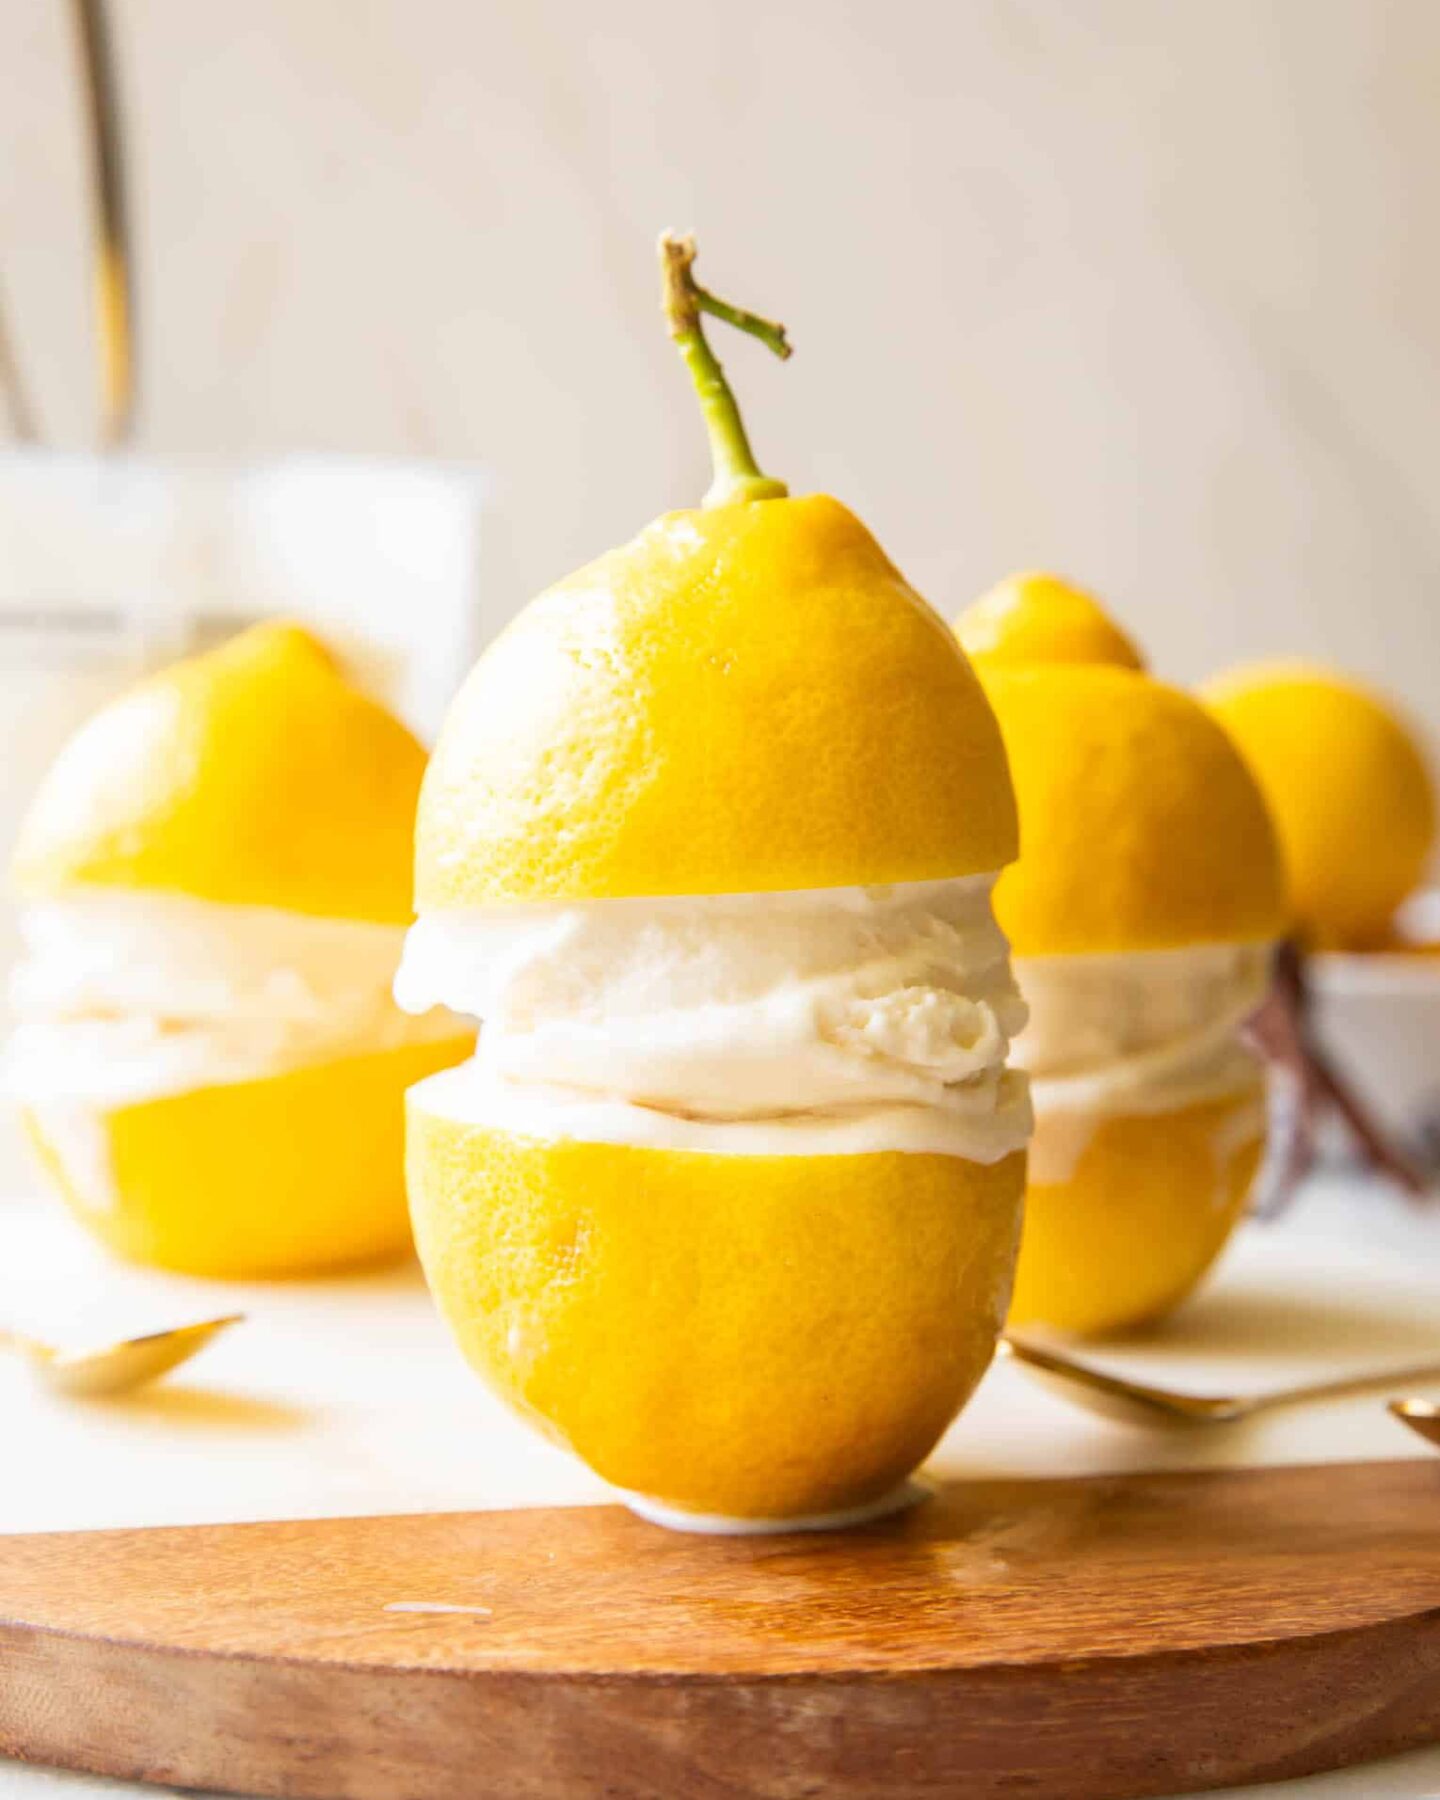
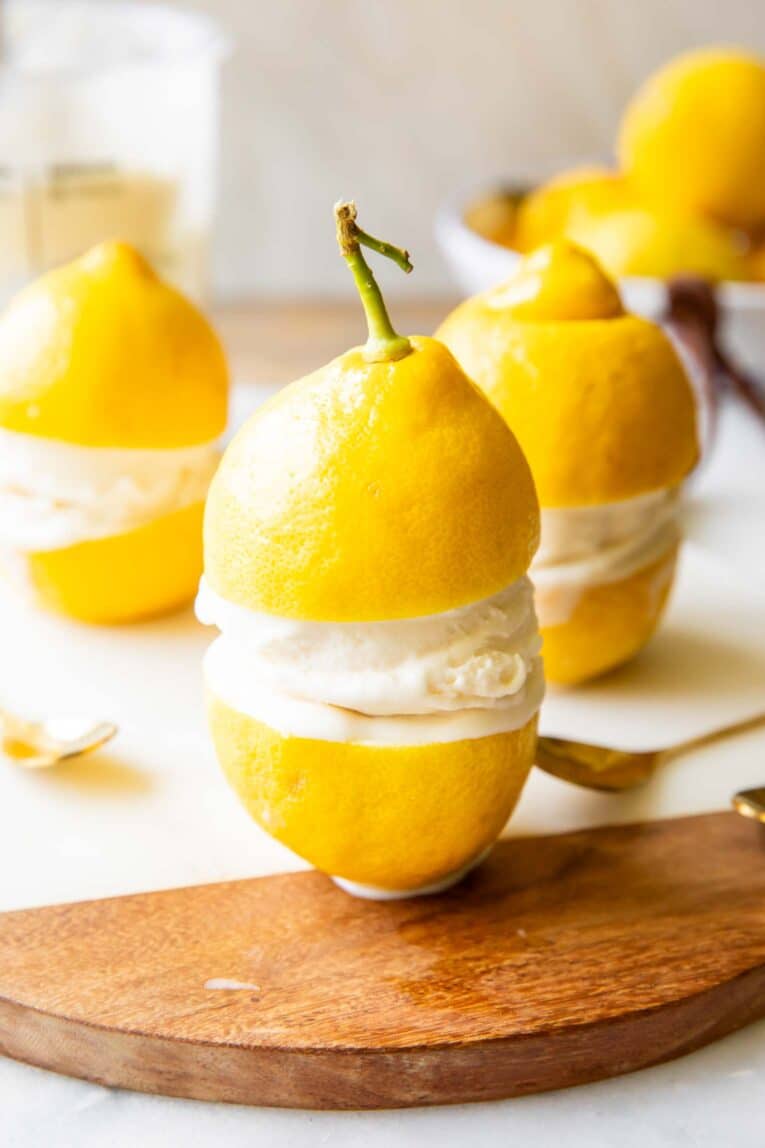
- Enjoy – Scoop your ice cream into bowls or a halved lemon (see instructions below), and garnish with lemon zest. Enjoy right away!
Lemon Shell Option
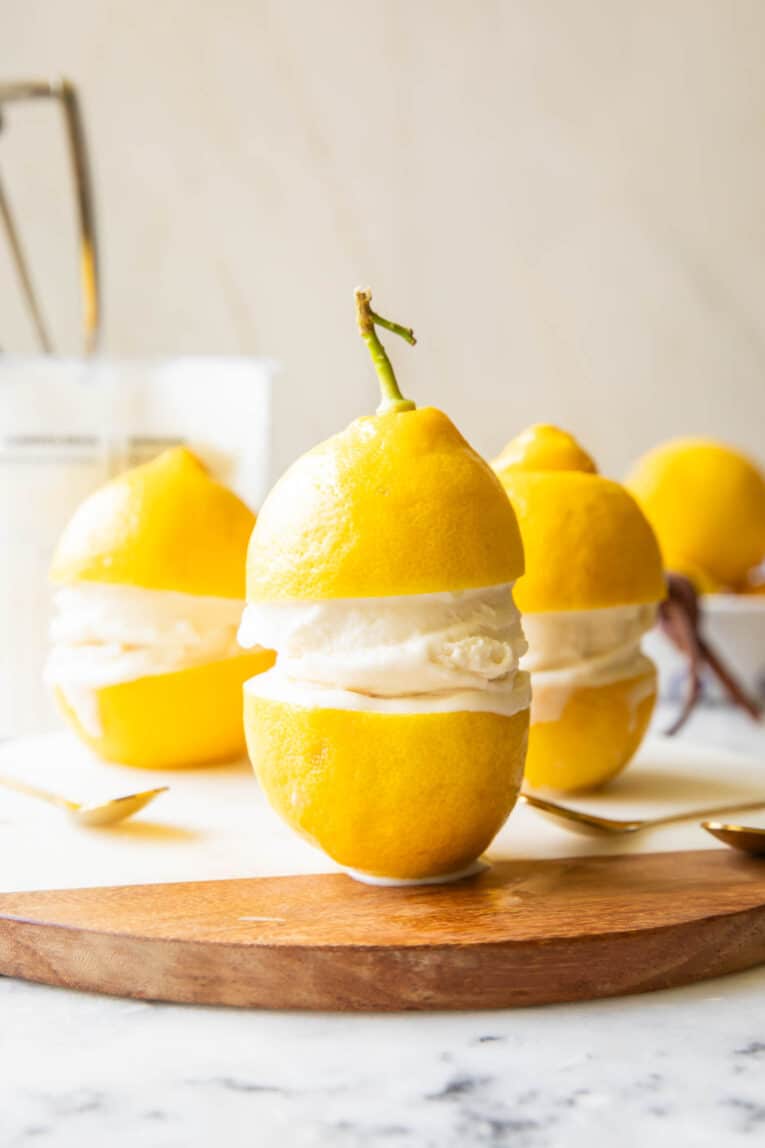
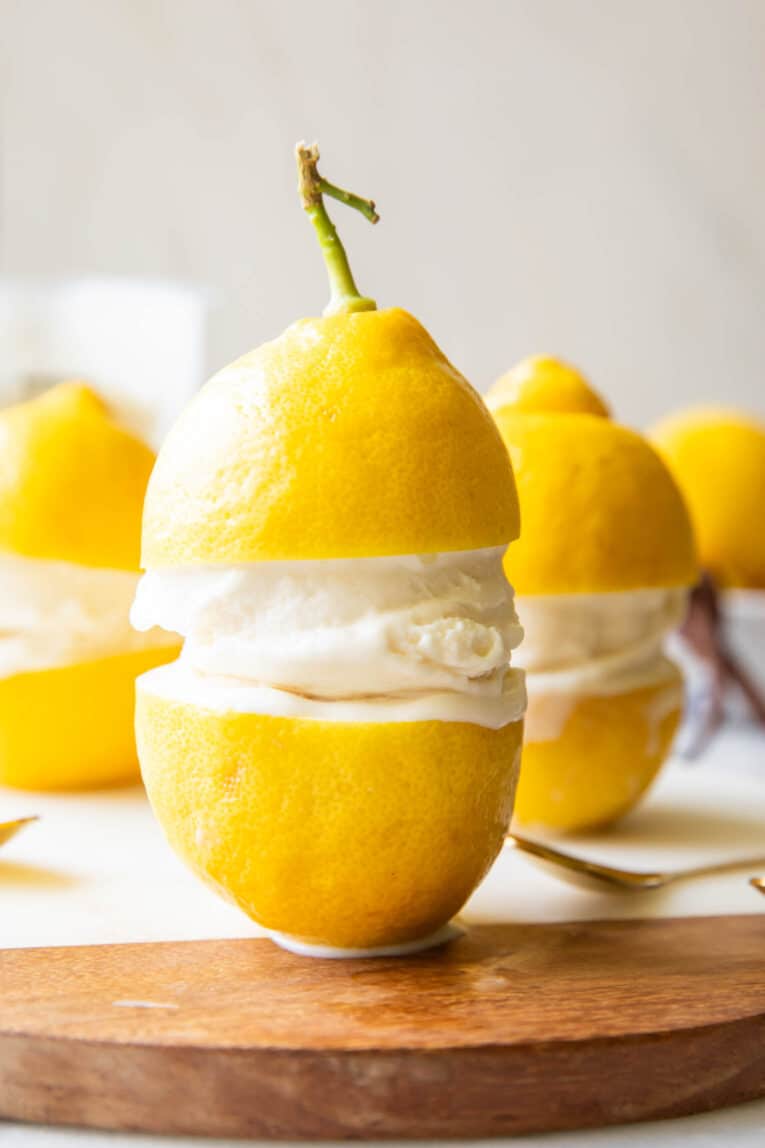
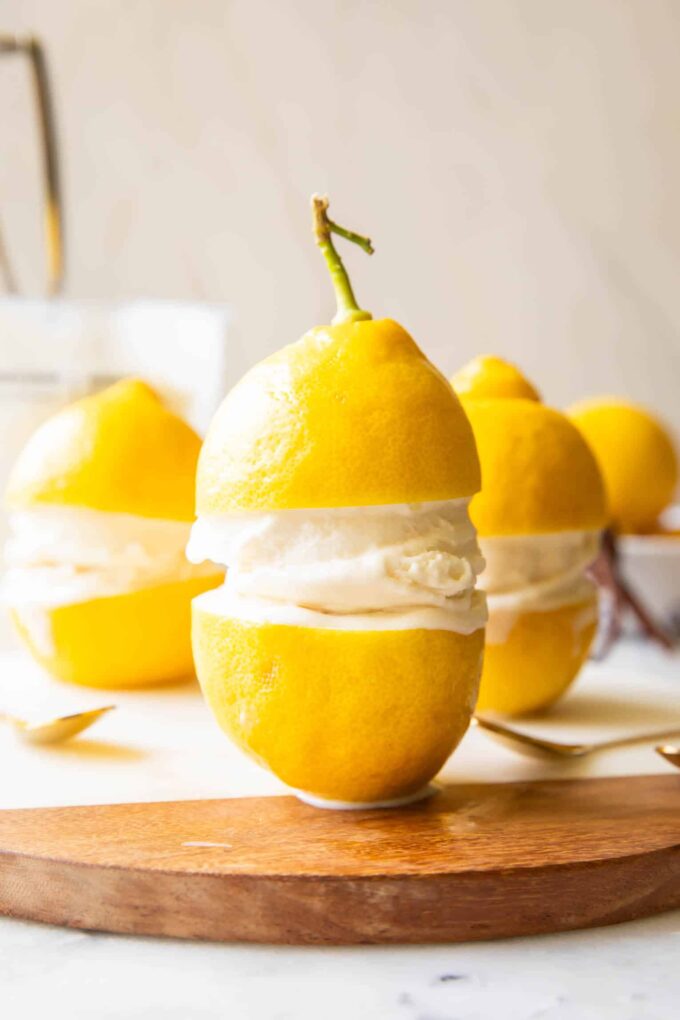
To really lean into the Italy inspiration, I like to serve my ice cream in lemon shells. It always makes me feel a little extra sophisticated and doesn’t require much extra effort at all!
- Prepare the lemons – Slice four lemons in half lengthwise. Then, slice around the outer edge between the flesh and skin, and scoop out the pulp.
- Make a flat spot – Zest the bottom of each lemon half to create a flat spot. Be careful not to zest through the shells, and save the lemon zest for serving!
- Save the juice – Use a citrus press to squeeze the lemon juice from the pulp, and run it through a fine-mesh strainer. Use this in your ice cream!
- Chill the Lemons – Place the lemon shells in the fridge or the freezer until you’re ready to serve! This gets them nice and cold so the ice cream doesn’t melt.
- Serve – Spoon the prepared limoncello ice cream into the bottom of one shell, and add the second shell on top. Or, fill all four shells, and serve them open-faced.
Blender Option
No Ninja Creami? You can still make this limoncello ice cream recipe using a blender!
- Combine the ingredients – Blend all the ingredients in a blender.
- Freeze – Pour the mixture into an ice cube tray, and freeze for at least 8 hours.
- Blend again – Transfer the frozen cubes to a blender, and blend again until smooth. Add a splash of water or lemon juice as needed to achieve a smooth consistency.
Tips
- Freeze overnight for the best texture. I tested this recipe after about 6 hours of freezing, and the Greek yogurt still gave the ice cream a slightly dry, pasty mouthfeel. After freezing overnight, it blended up much smoother, creating the perfect texture.
- Blend the base until it’s completely smooth. Take your time blending the base. You want to make sure to remove all the cottage cheese curds, or your ice cream will be lumpy!
- Chill the lemon shells before filling. If you plan on serving the ice cream inside hollowed-out lemon halves, make sure to refrigerate or freeze the shells first. Room-temperature shells can cause the ice cream to melt surprisingly fast and make it harder to eat! Trust me, I learned that the hard way.
- Adjust the lemon flavor to taste. Lemons can vary quite a bit in acidity. So, I always taste the blended ice cream mixture before freezing and add a little extra zest if I want a stronger lemon flavor or more maple syrup for a sweeter taste.
- Prep the lemon bowls ahead of time for parties. Fill the chilled lemon halves with ice cream, then store them in the freezer, fully assembled, until you’re ready to serve. It’s an easy way to impress your guests!
Variations
Boozy Limoncello. Add a splash of actual limoncello liqueur before blending for a grown-up twist. Just note that this will soften the final texture a bit.
Vanilla Bean. Add a teaspoon of vanilla extract or the seeds from a vanilla bean for extra depth.
Dairy-Free. Swap the Greek yogurt and cottage cheese for your favorite plant-based yogurt and dairy-free cottage cheese alternative to keep the recipe dairy-free.
Berry Swirl. Swirl in a spoonful of fresh berry compote after the final spin for a lemon-berry combo.
Topping Ideas and Serving Suggestions
For the full Italian-summer effect, I serve my ice cream scooped into halved lemons with a sprinkle of fresh lemon zest on top. It’s such a fun, simple way to make it feel special!
Beyond that, a drizzle of honey, a few fresh mint leaves, or a handful of crushed pistachios all make tasty toppings. If you don’t want to go the lemon shell route, spoon your ice cream into a cone, a bowl, or enjoy it straight from the pint.
How to Store
Store unspun pints in the freezer for up to 2 weeks. Just spin them when you’re ready to serve!
If you have leftover blended ice cream, store it in an airtight container in the freezer for up to 1 week. I like to press a piece of plastic wrap directly on the surface before sealing to help prevent freezer burn.
Healthy Ninja Creami Ice Cream Recipes
- Ninja Creami Dole Whip
- Guava Ice Cream
- Salted Caramel Ice Cream
- Healthy Pumpkin Ice Cream
- Cookie Dough Ice Cream
- Brownie Batter Ice Cream
Lemon Dessert Recipes To Try
- Healthier Lemon Posset
- Vegan Lemon Blueberry Cake
- Gluten-Free Lemon Bars
- Vegan Berry Lemon Curd Tart
- Southern Sweet Tea Lemon Cake
- Lemon Ice Cream
Save This Recipe
Enter your email address and we'll send it straight to your inbox.
Limoncello Ice Cream Recipe
Equipment
Ingredients
- 1 1/2 cups plain whole Greek yogurt
- 1 1/2 cup 4% cottage cheese (opens in a new tab)
- 3/4 cup maple syrup
- zest of 1 lemon (as garnish (optional))
- 1/3 cup lemon juice (from approx. 4 lemons)
Instructions
- Optionally: Follow directions below to serve the ice cream in halved lemons before squeezing the juice from the lemons.
- Add all of the ingredients to a blender and blend until smooth.
- Divide the mixture between two Ninja Creami pint jars and add the lid.
- Freeze for at least 8 hours or best overnight.
- When ready, place the pint jar in the machine and blend with the “ice cream” setting on full.
- The ice cream will likely be quite powdery. Place the jar back in the machine and “respin”. Do this once or twice.
- Scoop ice cream into bowls or a halved lemon and add top with lemon zest (and/or another scooped half lemon on top). Enjoy!
Directions for filling lemons: (see notes about refrigerating the lemons, important!)
- Slice 4 lemons in half, length wise.
- With the knife slice around the outer edge of the lemon between the flesh and skin. Using a spoon or cookie scoop, scoop out the pulp into a bowl, set aside.
- Zest the bottom of each lemon half to make a flat spot, and set the lemon zest aside.
- Refrigerate or freeze the lemon shells for at least an hour, or up to overnight!
- Using a citrus press, squeeze juice from the pulp that was set aside and run it through a fine mesh strainer. Measure out 1/3 cup of lemon juice and follow the rest of the directions to make the ice cream.
Watch Me Make This
Notes
- I really recommend freezing the ice cream for the full overnight time.
- Feel free to re-spin the ice cream twice to get it super creamy and scoopable.
- DEFINITELY refrigerate or even freeze the lemons after you scoop out the middles! I tried filling the lemons at room temperature, and the ice cream melted SO quickly as I was filling them. If they are cold, this will work better!
- If you’re serving them for a party, you can fill the refrigerated lemons with the ice cream, then store them in the freezer already put together until you’re ready to serve.
Nutrition
Did you make this? I’d love to see!
Tag me on socials at @JarOfLemons (opens in a new tab) or #JarOfLemons (opens in a new tab)


Would this recipe would with a traditional ice cream maker (that has a compressor)?
Thanks in advance.
Hey Christine, I haven’t tried that but I don’t see any reason why it wouldn’t work! Enjoy!