 Prep: 10 min
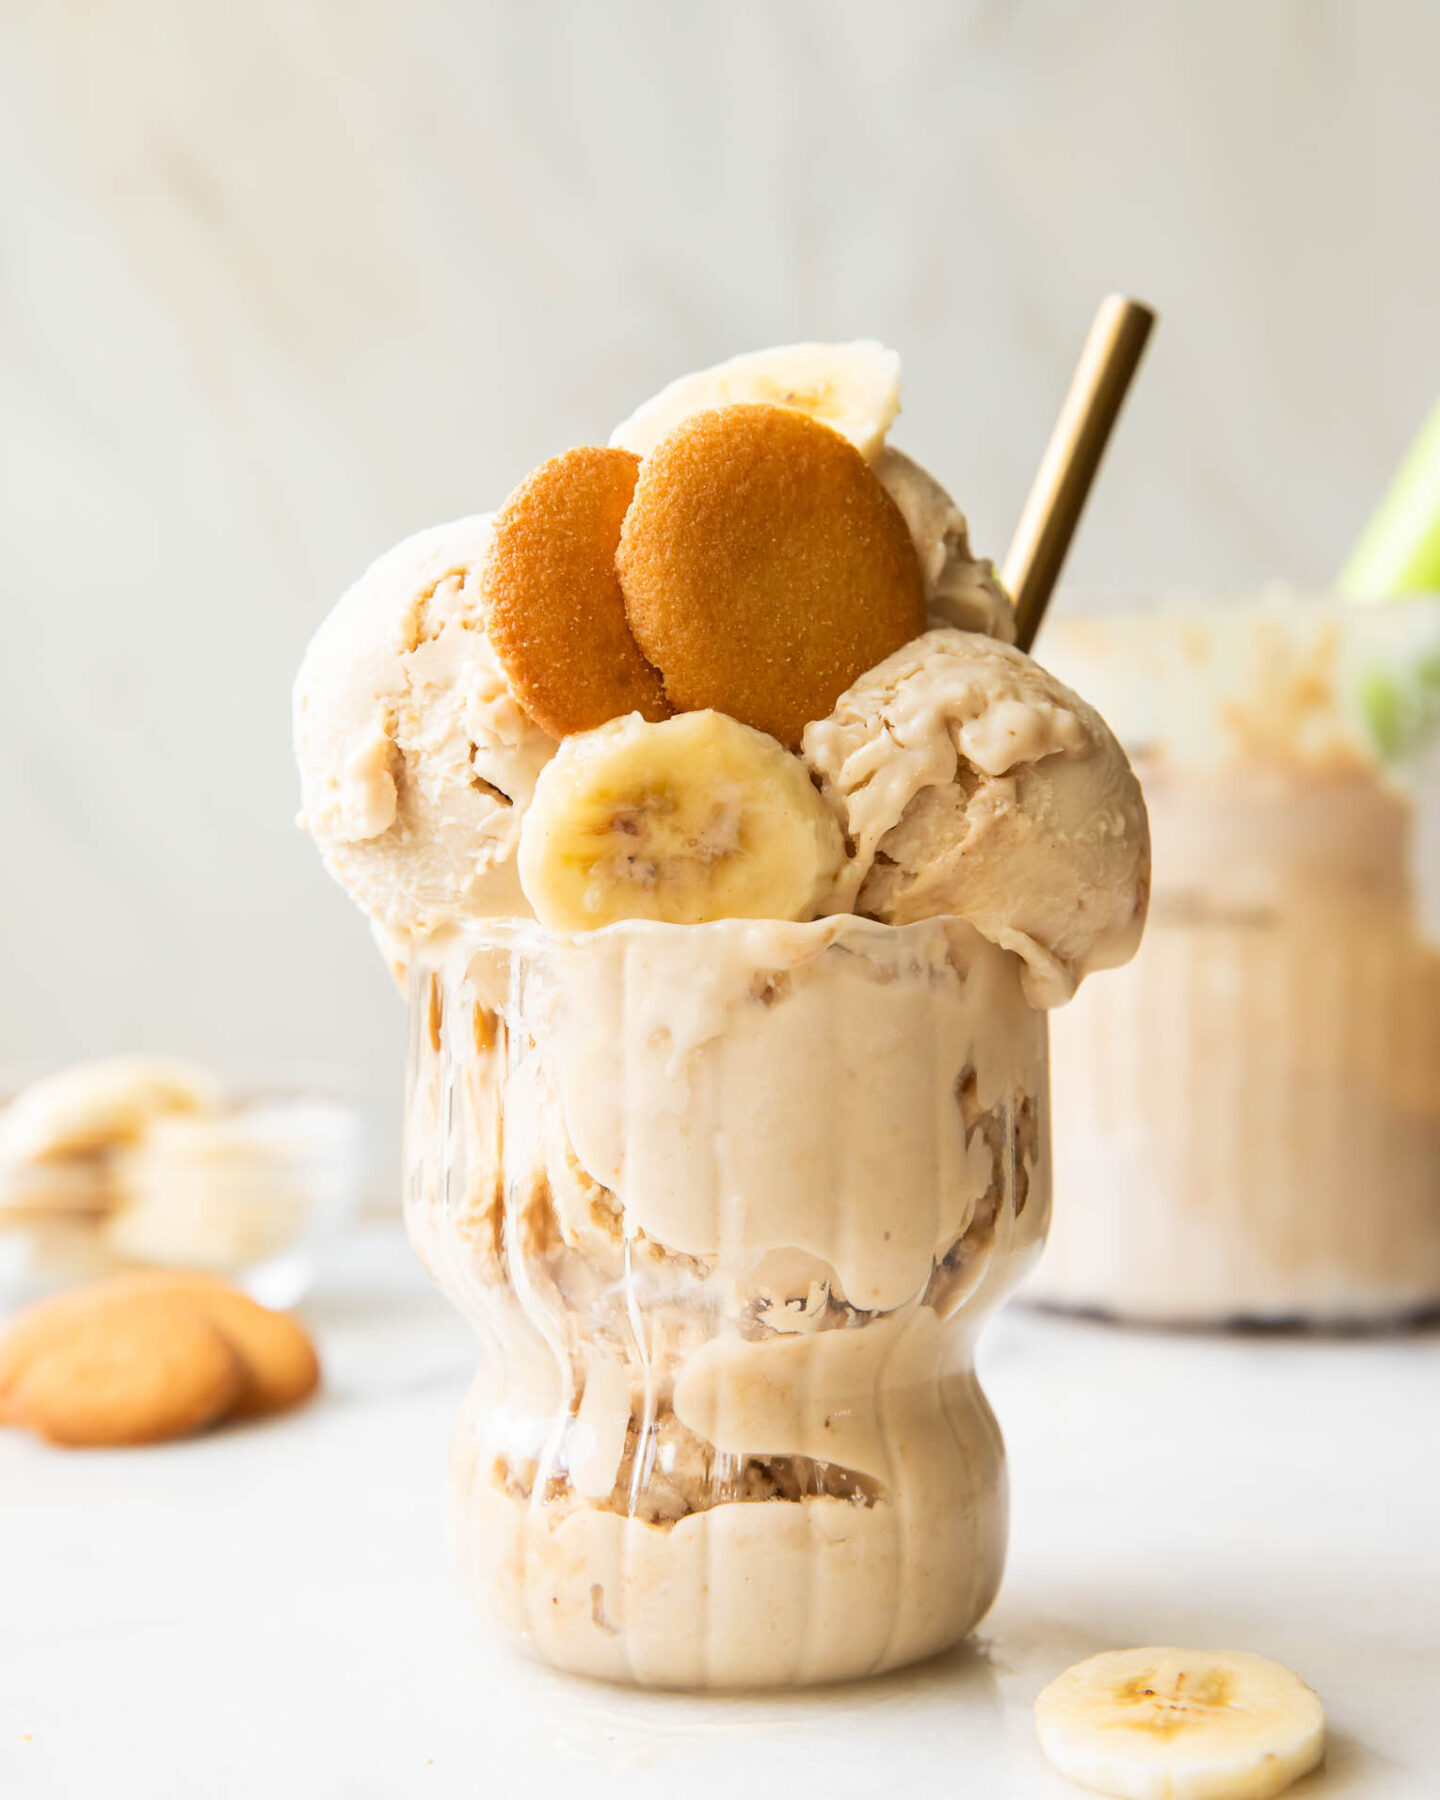
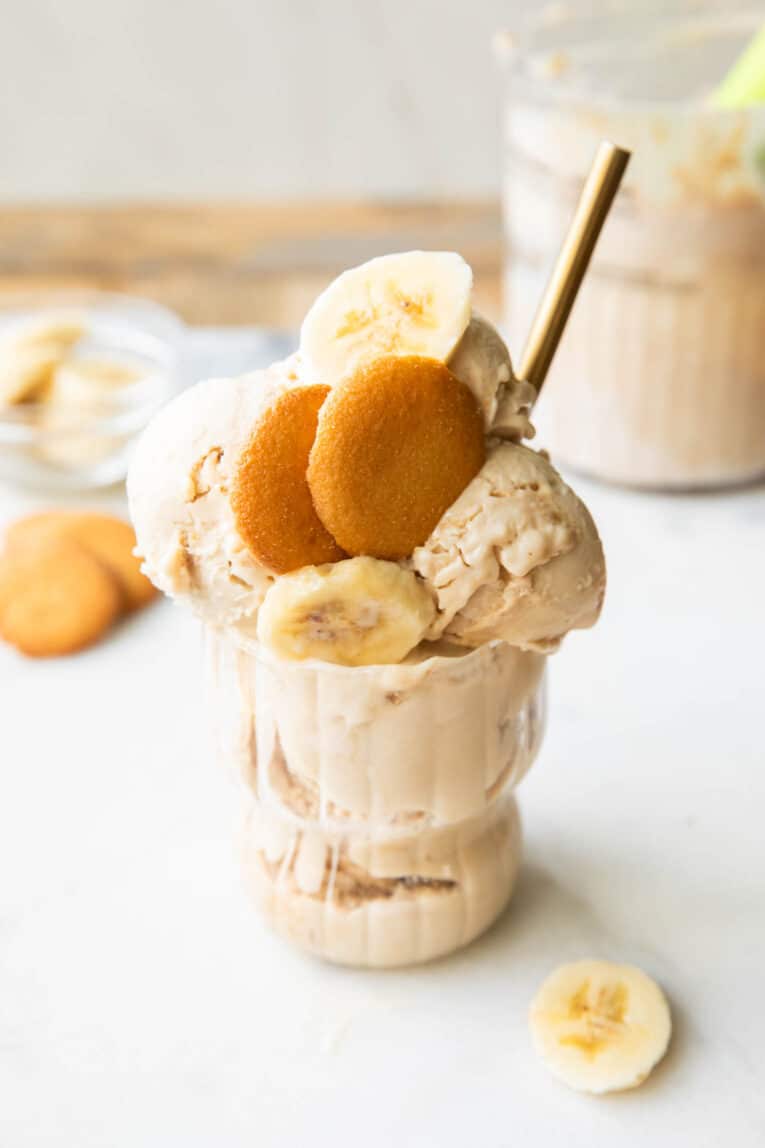
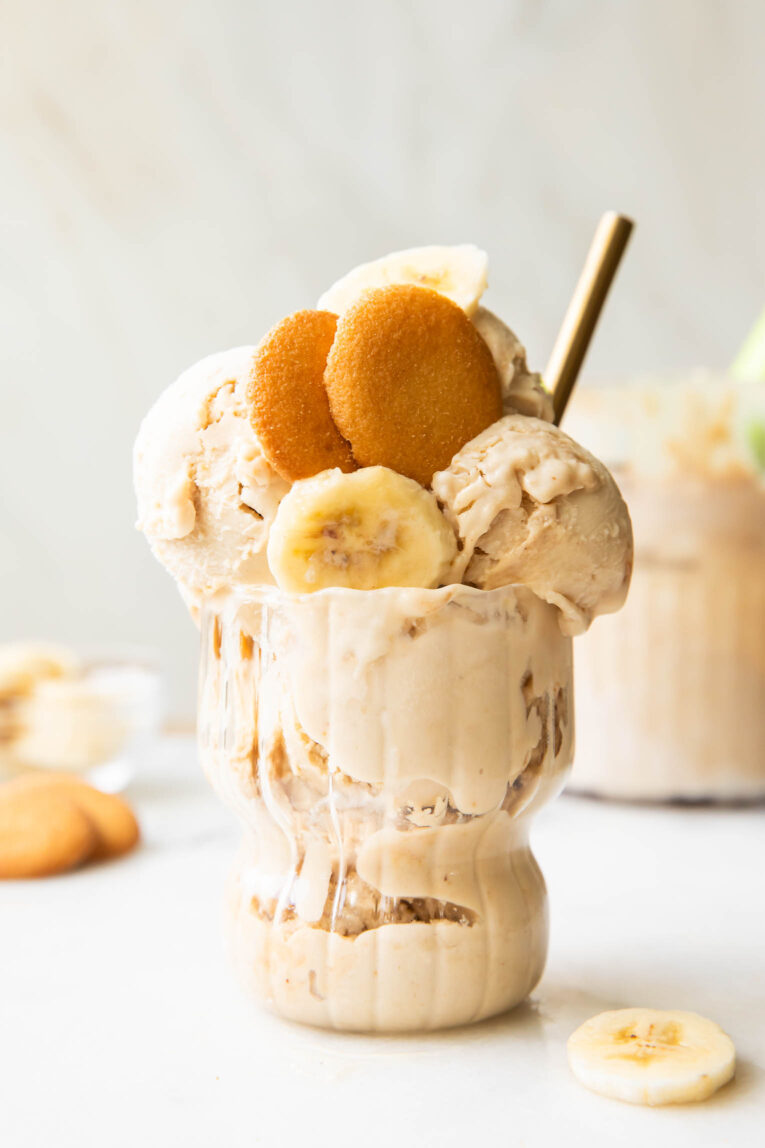
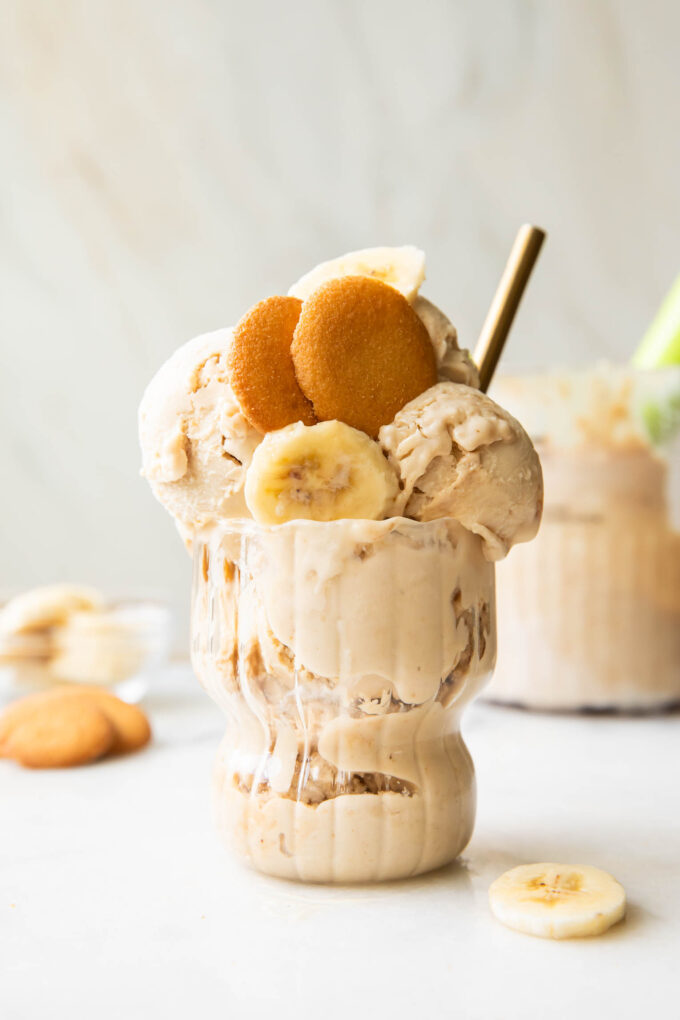
 Why choose between banana pudding and ice cream when you can have both, thanks to this Banana Pudding Ice Cream Recipe?! This healthier ice cream is my new obsession and tastes just like the classic Southern dessert, but has 20 grams of protein. It’s thick, creamy, and made with cottage cheese instead of heavy cream! With vanilla wafer pieces sprinkled throughout, every bite is pure nostalgia with better-for-you ingredients and a delicious twist!

High-Protein Banana Pudding Ice Cream Recipe
I’m back with another fun recipe in my “Scoopable” series (opens in a new tab)! If you’re new to following along here on the blog or on Instagram (opens in a new tab), it’s a series in which I’m recreating all of my favorite ice cream flavors and making them just a little healthier. So far, some of my most popular recreations have been my homemade pistachio ice cream and Biscoff ice cream. You guys have been loving this series!
And this banana pudding ice cream recipe has been on my list for a while. I’ve always loved the Trader Joe’s banana pudding ice cream, but I have to say that this homemade cottage cheese version tastes even better. Plus, it’s lower in refined sugar and actually filling, thanks to all the protein. Sweet and creamy, it’s honestly the perfect summer treat!
You’ll Also Love: Lemon Ice Cream
Why You’ll Love This Recipe
- 10 Minute Prep – Just blend the base and freeze. It’s SO fast and easy!
- Ninja Creami or Blender Options – I know that not everyone has a Ninja C (opens in a new tab)reami (although it does make a big difference for making creamy protein ice cream). So, I tested a blender version and have that listed in the blog post as well!
- 20 Grams Protein – Thanks to the cottage cheese and protein powder, this banana pudding ice cream is super satisfying, and no one ever realizes it’s healthier. Even my kids love it!
- Shareable – It’s tempting to eat the entire pint, but if you’re up for sharing, one recipe makes enough for 4 servings.
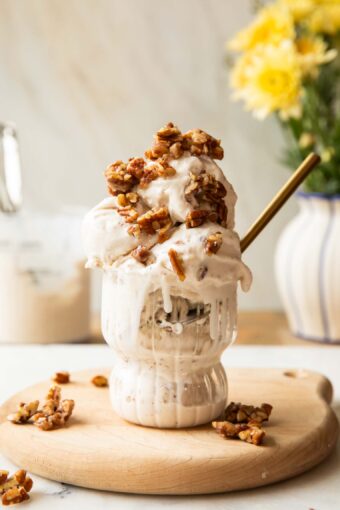
RELATED: Butter Pecan Ice Cream
Ingredients
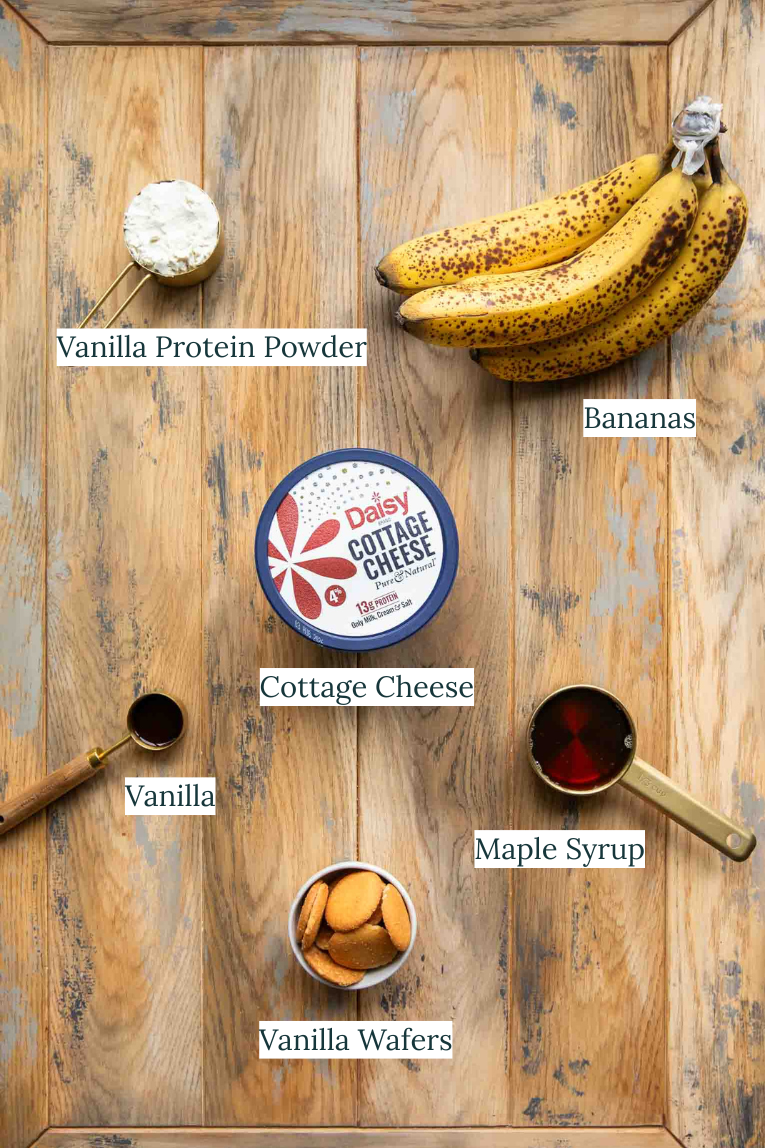
- Cottage Cheese (opens in a new tab) – This forms the base of the ice cream, giving it a thick, creamy consistency. Full-fat cottage cheese creates the best taste and texture. Both small and large curd work.
- Maple Syrup – This sweetens the ice cream without the need for refined sugar. Substitute honey if preferred.
- Vanilla – Use high-quality pure vanilla extract to infuse the ice cream with vanilla flavor and enhance the rest of the ingredients.
- Bananas – Just like my high-protein banana bread, the riper your bananas, the sweeter your ice cream will taste! Save your slightly less ripe bananas for topping.
- Protein Powder – This boosts the protein even further and creates a sweeter taste. I prefer vanilla protein powder, but unflavored also works. Or, use banana protein powder if you can find it! If you’re in the market for a new protein powder, take a look at my favorite vegan protein powder options!
- Vanilla Wafers – A must-have in any banana pudding recipe, I add vanilla wafers to the ice cream base and save extras for topping. Graham crackers work well, too, for a slightly different taste. Use gluten-free graham crackers if needed!
How to Make Ninja Creami Banana Pudding Ice Cream
Go ahead and prep a couple pints at once. Trust me! You’ll thank yourself later, because one pint never lasts long. All you need is an immersion blender (opens in a new tab) or regular blender (opens in a new tab), a Ninja Creami pint (opens in a new tab), and a Ninja Creami (opens in a new tab). Here’s how to make Ninja Creami Banana Pudding Ice Cream:
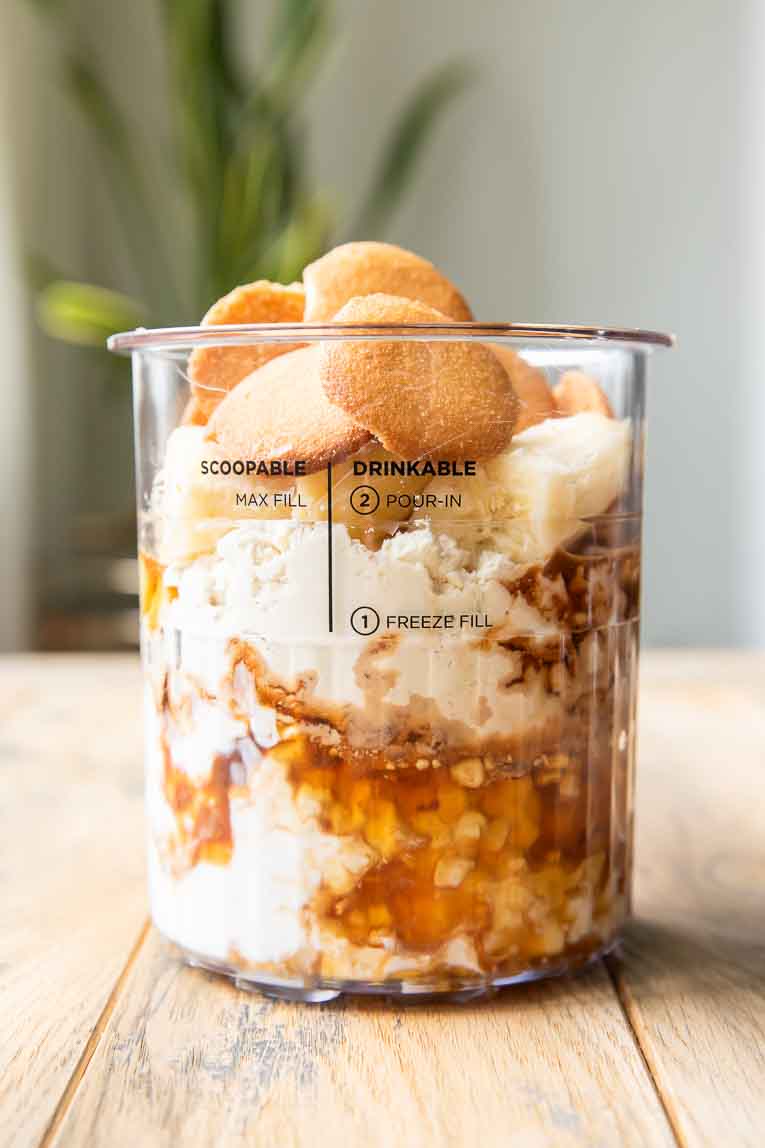
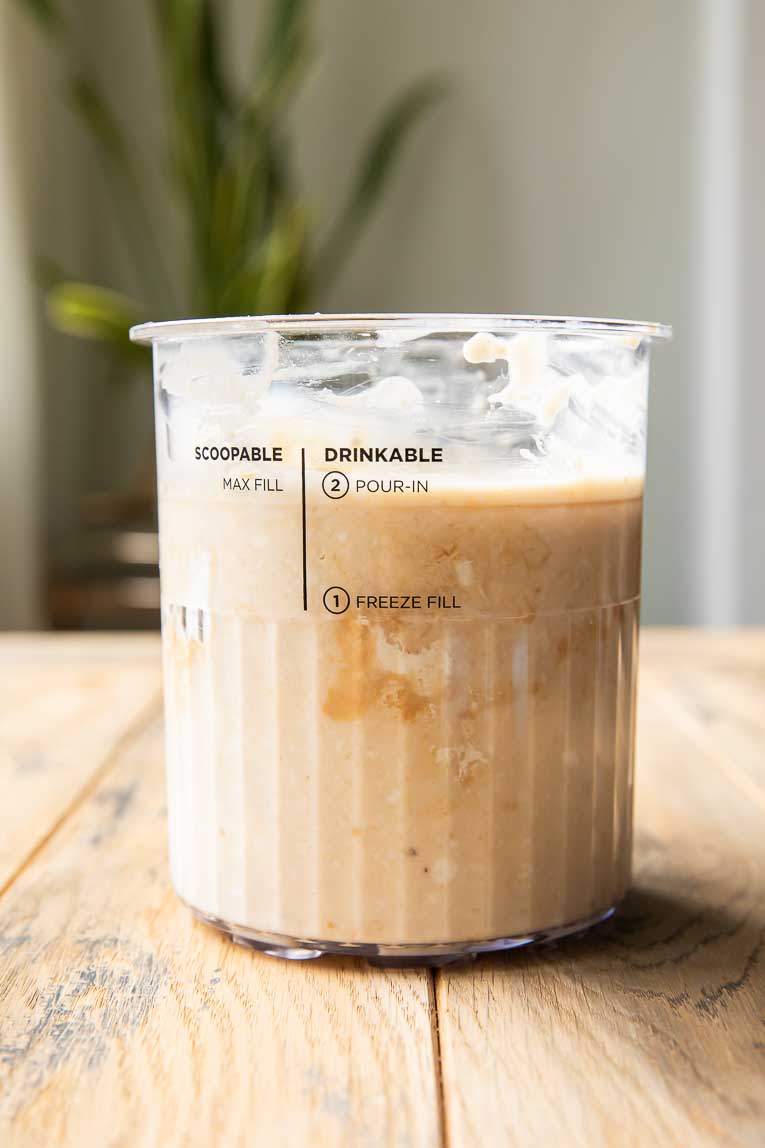
- Blend the base – Add the cottage cheese, maple syrup, vanilla, bananas, protein powder, and half of the wafers to a pint container. Use an immersion blender or regular blender to combine the ingredients, creating a smooth consistency.
- Freeze – Cover the pint with a lid, and freeze. Let your ice cream freeze overnight, if possible, for the best texture.
- Blend – Place one pint in the machine, set it to “Full,” and use the “Ice Cream” function to blend.
- Add mix-ins – Add the remaining wafers, and blend again using the “Mix-In” setting.
- Serve – Enjoy right away with your favorite toppings!
No Creami? Use a Blender Instead!
You can still make this recipe if you don’t have a Creami! Use a blender instead:
- Combine the ingredients – Blend all the ingredients using an immersion blender or regular blender.
- Freeze – Pour the mixture into an ice cube tray, and freeze for at least 6 hours.
- Blend again – Transfer the frozen cubes to a blender, and blend until smooth. Add a splash of milk as needed for a smooth consistency! Fold in the remaining wafers, or gently pulse them to distribute them throughout the ice cream. Enjoy!
Tips
- Blend the base super well. Make sure your banana pudding ice cream base is super smooth before freezing. This removes the curds from the cottage cheese, creating a smooth texture similar to traditional ice cream.
- Freeze the Ninja Creami pints flat. A level surface helps them spin evenly.
- Re-spin for a creamier consistency. If your ice cream isn’t creamy after the first blend, use the “Re-Spin” setting to blend it again.
- Avoid overprocessing the mix-ins. Make sure to use the “Mix-In” setting, or gently fold the remaining vanilla wafers into the ice cream so you get chunks instead of pulverizing them into a smooth consistency.
Variations
Make Chocolate Banana Pudding Ice Cream. Blend 1-2 tablespoons of cocoa powder into the base. Or, include chocolate chips or chocolate sauce with the wafer mix-ins.
Add Peanut Butter. Blend 2 tablespoons of peanut butter into the base for banana peanut butter flavor that’s so yummy.
Add More Mix-Ins. Fold chopped pecans, walnuts, mini chocolate chips, toffee bits, or coconut flakes in with the wafers for extra flavor and texture.
Make It Dairy-Free. Use a dairy-free cottage cheese and vegan vanilla protein powder.
Swap the Wafers. Use graham crackers, shortbread cookies, protein cookie pieces, or gluten-free vanilla sandwich cookies for a slightly different taste and texture.
Boost the Banana Flavor. Fold extra diced bananas into the blended ice cream, or caramelize bananas to use as a topping.
Topping Ideas and Serving Suggestions
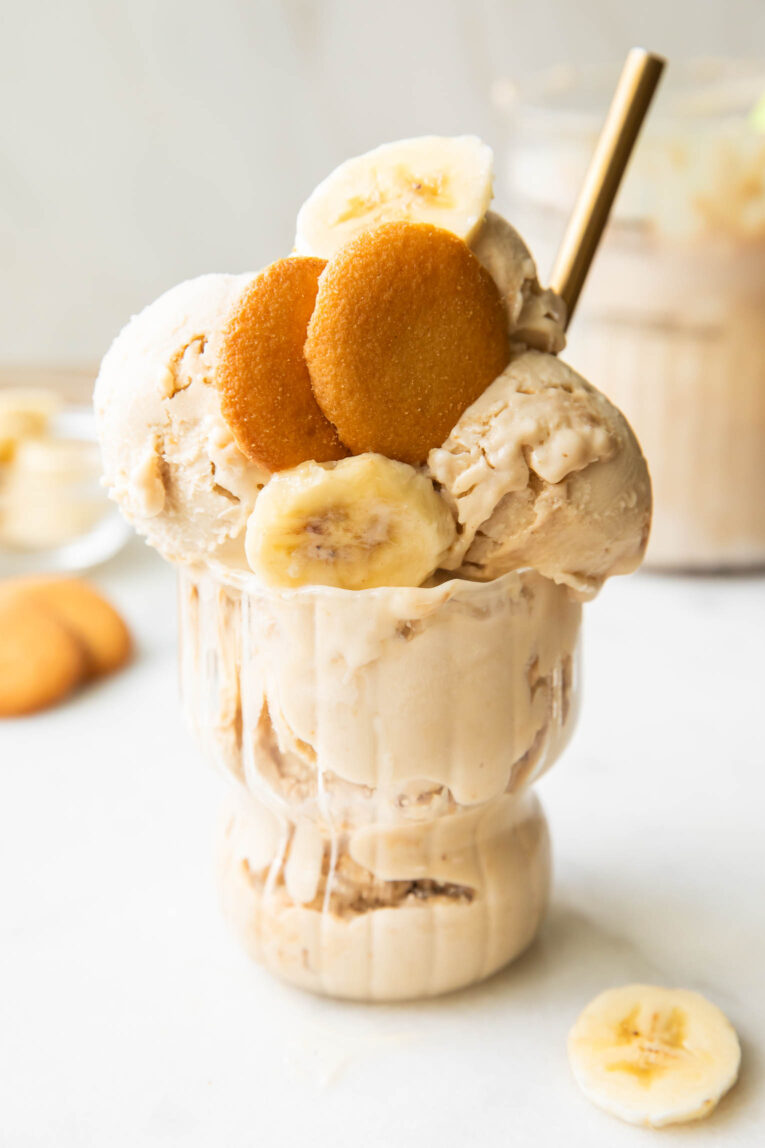
I enjoy my banana pudding protein ice cream directly from the pint or scooped into a bowl. I always add extra banana coins, vanilla wafers, and whipped cream on top!
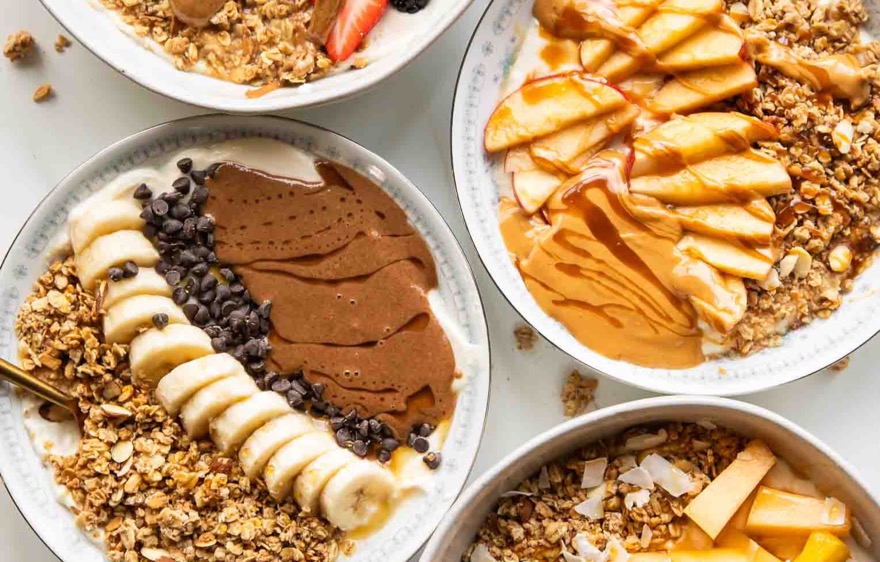
For a fun treat, I set out a toppings bar with options like caramel sauce, peanut butter, chocolate chips, chopped nuts, coconut flakes, and healthy homemade granola. My kids love getting to mix and match their favorites.
For an extra indulgent dessert, serve your ice cream with warm cottage cheese protein brownies, vegan peanut butter chocolate chip cookies, healthier banana bread, or on top of fluffy sourdough pancakes or protein waffles!
How to Store
Store unblended pints in the freezer for 1-2 weeks. Then, just blend them up and add your toppings of choice to serve!
Or, once blended, store leftover banana pudding ice cream in the pints or an airtight container in the freezer for up to 1 week. Use the “Re-Spin” function, adding a small splash of milk, to blend the ice cream again if it looks a little crumbly before serving.
Healthy Ice Cream Recipes
- Guava Ice Cream
- Margarita Ice Cream
- Salted Caramel Ice Cream
- Healthy Pumpkin Ice Cream
- Cookie Dough Ice Cream
- Brownie Batter Ice Cream
More Ways to Use Cottage Cheese
- Cottage Cheese Bagels
- Cottage Cheese Waffles
- Cottage Cheese Muffins
- Cottage Cheese Coffee Cake
- Cottage Cheese Brownie Cookies
- Cookie Dough Cottage Cheese Bites
Looking for more? Here are 35+ cottage cheese recipes!
Save This Recipe
Enter your email address and we'll send it straight to your inbox.
Banana Pudding Ice Cream
Equipment
- Immersion Blender (opens in a new tab) or Regular Blender
Ingredients
- 2 cups cottage cheese (opens in a new tab)
- 1/4 cup maple syrup
- 2 teaspoons vanilla extract
- 2 large ripe bananas (plus more for topping)
- 1 scoop vanilla protein powder (about 1/4 cup)
- 1 cup vanilla wafers or graham crackers (divided, plus more for topping)
Instructions
- Add the cottage cheese, maple syrup, vanilla, bananas, protein powder, and 1/2 of the wafers to a pint container.
- Use an immersion blender to blend it all together (or pour it into a regular blender and blend until smooth, then pour it back into the pint container).
- Freeze for 6-8 hours.
- When ready to enjoy, set it in the Ninja Creami on the “Full” and “Ice Cream” settings.
- Add in the remaining wafers, then use the “Mix-In” setting.
- Top with more bananas, wafers, and whipped cream if you want! It’s SO good.
Watch Me Make This
Nutrition
Did you make this? I’d love to see!
Tag me on socials at @JarOfLemons (opens in a new tab) or #JarOfLemons (opens in a new tab)