Table of Contents
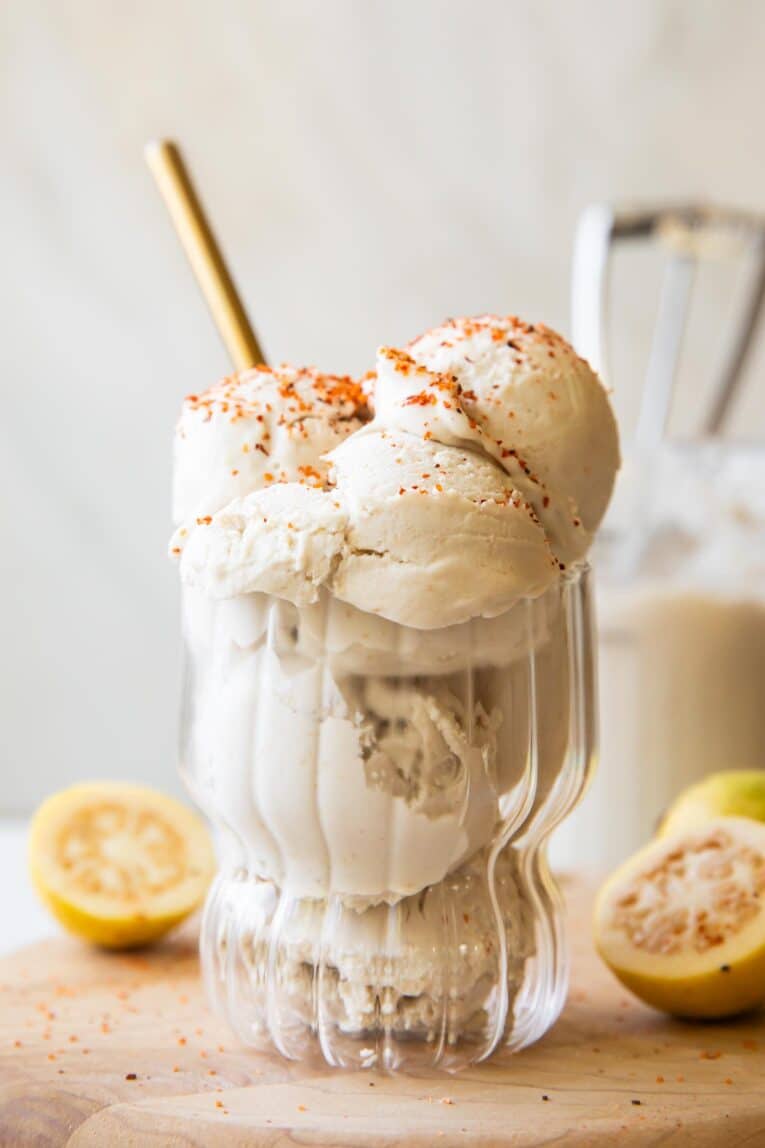
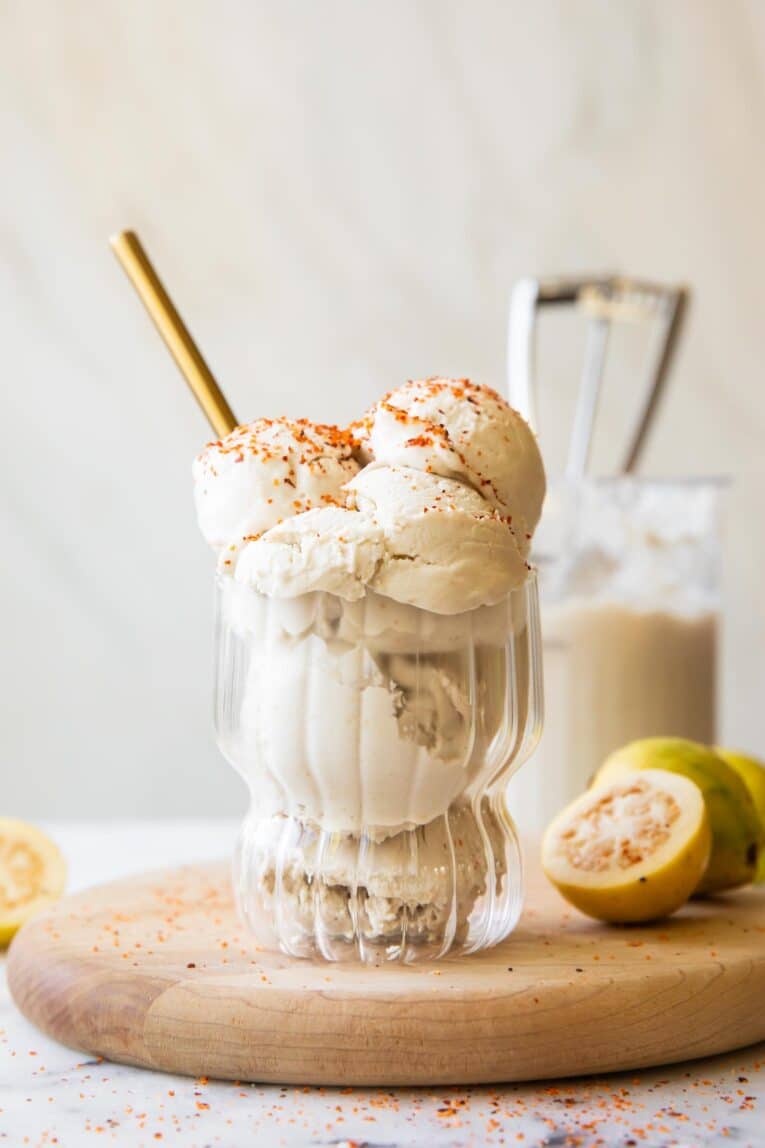
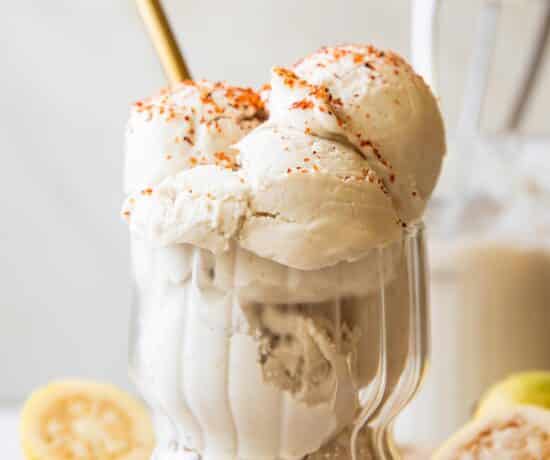
Sweet, Creamy Guava Ice Cream
Welcome back to my “Scoopable” series! If you haven’t been following along on the blog or Instagram, I’m recreating all my favorite ice cream flavors with a protein-forward twist. So far, you all are loving my Margarita Ice Cream and Salted Caramel Ice Cream just as much as I do.
So, I obviously had to keep the fun going using one of my favorite fruits. If you’ve never had guava before, it has a sweet, tropical flavor that tastes like a mix between strawberry, pear, and passion fruit. And every single time I pass it at the grocery store I think I just NEED to make something with Guava! So after lots of testing, today’s finally the day.
Blended with creamy coconut milk and flavored with a splash of vanilla, it transforms into the dreamiest frozen treat. Add a sprinkle of Tajín on top for a salty, spicy kick (or a drizzle of agave), and you’ll feel like you’ve been transported to the beach!
You’ll Also Love: Ninja Creami Dole Whip
Why You’ll Love This Recipe
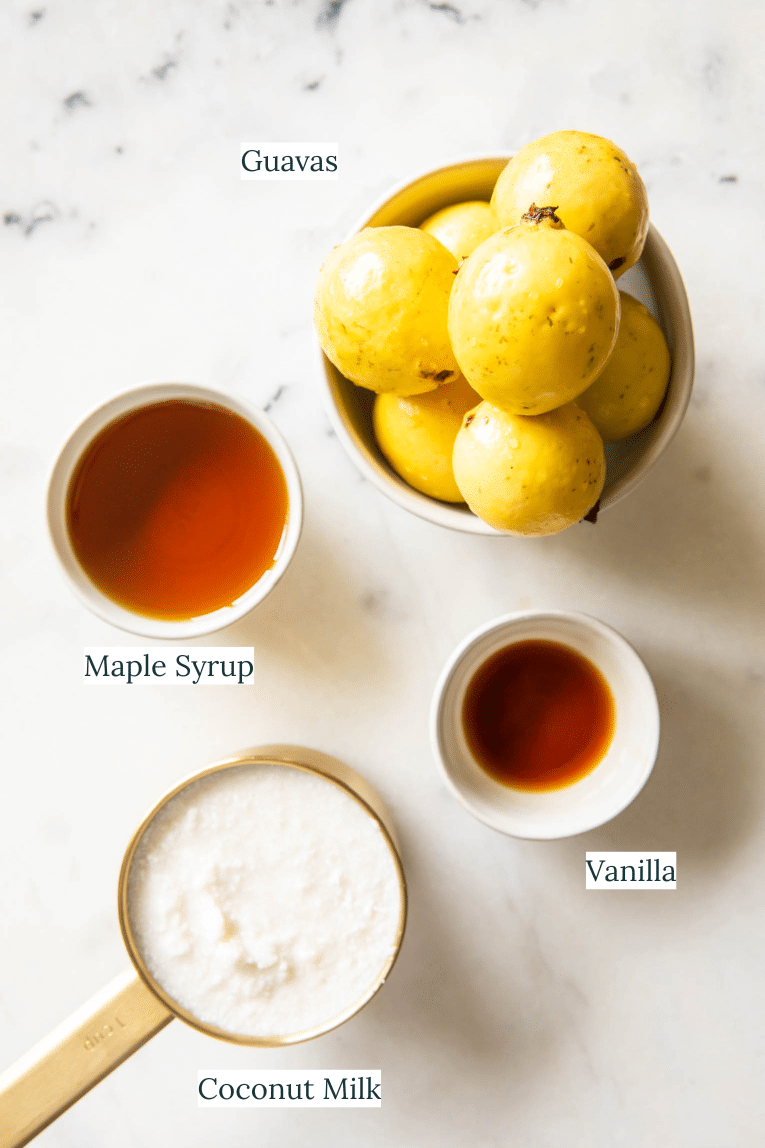
- Just 4 Ingredients – Unlike store-bought ice creams that are typically full of additives, stabilizers, and extra sweeteners, this guava ice cream recipe comes together with 4 natural ingredients.
- Tropical Flavor – The combination of guava and coconut milk creates the most irresistible tropical flavor. I’m obsessed!
- Light + Creamy – Once blended, the ice cream is thick, creamy, and perfectly scoopable without feeling overly heavy. No one ever guesses it’s not real ice cream!
- Make Ahead – Ninja Creami recipes have to be prepped ahead of time. So, I like to prep several pints of different flavors at once, and store them in the freezer. Then, all I have to do is blend them up when a craving hits!
RELATED: Ninja Creami Protein Milkshake
Ingredients
- Fresh Guavas – You’ll need 6-7 small fresh guava fruits. Make sure your guavas are ripe and very soft for the best natural sweetness and flavor. I kept the skins on since they were super thin, and they blended perfectly without any bitterness!
- Full-Fat Coconut Milk – Full-fat canned coconut milk is key to creating an ice cream-like consistency without using heavy cream. If you want a thicker texture and don’t mind a few seeds, use coconut cream instead, keeping in mind that you won’t be able to strain the ice cream.
- Maple Syrup – This adds just the right amount of sweetness while keeping the flavors light. Feel free to adjust slightly depending on how sweet your guavas are. Or, substitute agave if preferred.
- Vanilla – A small amount of vanilla enhances the sweetness of the fruit, adding depth and boosting the tropical flavor.
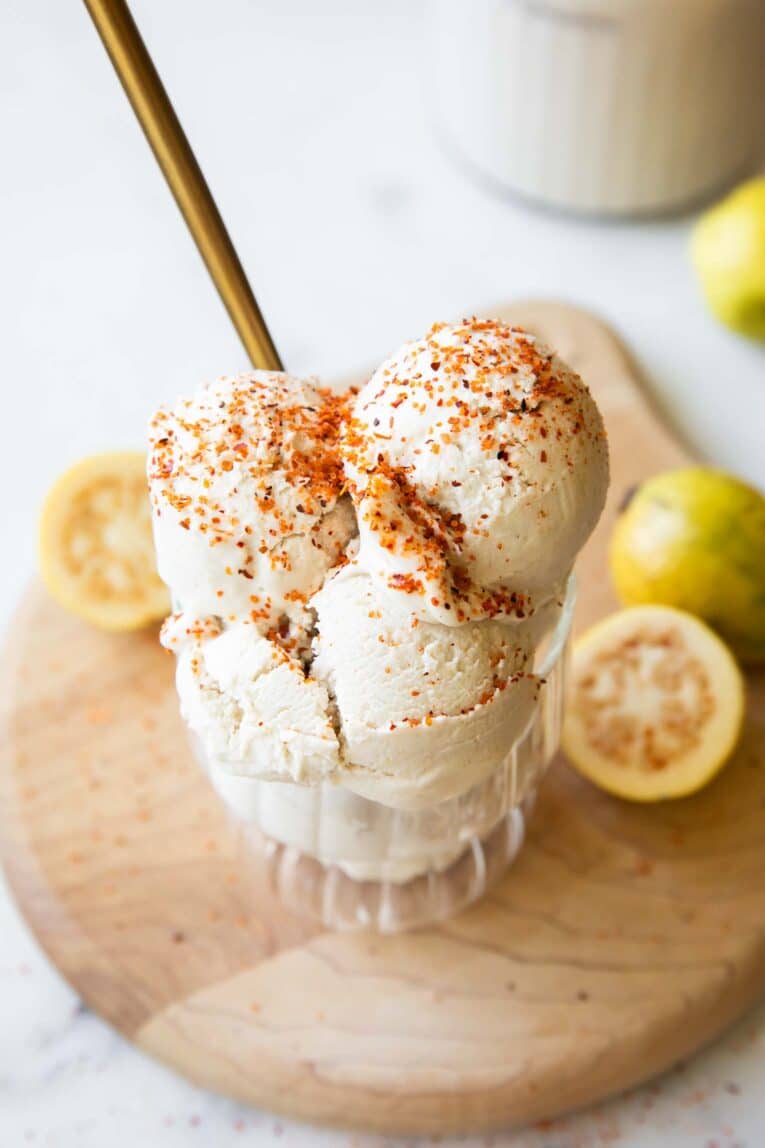
- Tajín – Completely optional but highly recommended, I love to finish my guava ice cream with a sprinkle of Tajín for a slightly spicy kick that takes the dessert to the next level. It’s seriously SO good!
How to Make Guava Ice Cream
This might be my easiest Creami recipe yet! All you need is a blender, a fine mesh sieve, a large bowl, a Ninja Creami pint container, and a Ninja Creami. Here’s how to make the best Guava Ice Cream Recipe:
- Combine the ingredients – Cut off and discard the very end of each guava fruit, and slice the guavas in half. Then, combine all the ingredients in a blender and pulse until smooth.
- Strain – Pour the mixture through a fine mesh sieve over a bowl, and discard the seeds.
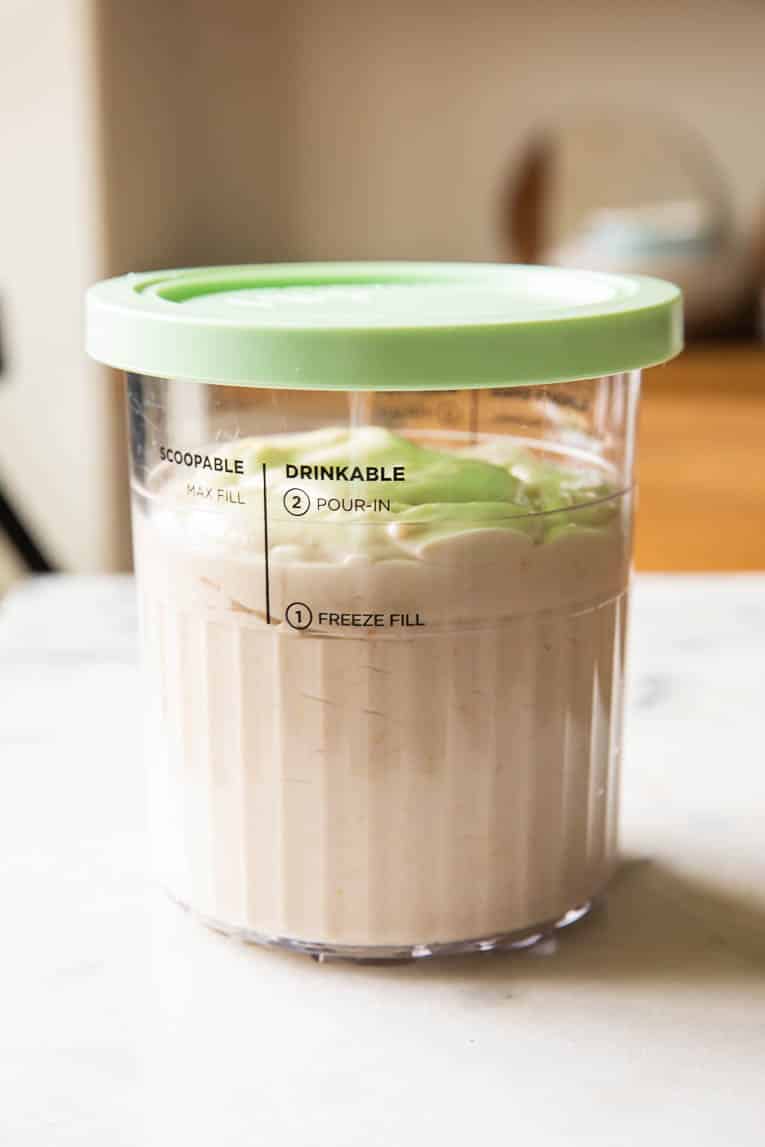
- Freeze – Transfer the mixture to a Ninja Creami pint, cover it with a lid, and freeze for at least 6 hours. I let my ice cream freeze overnight for the best texture!
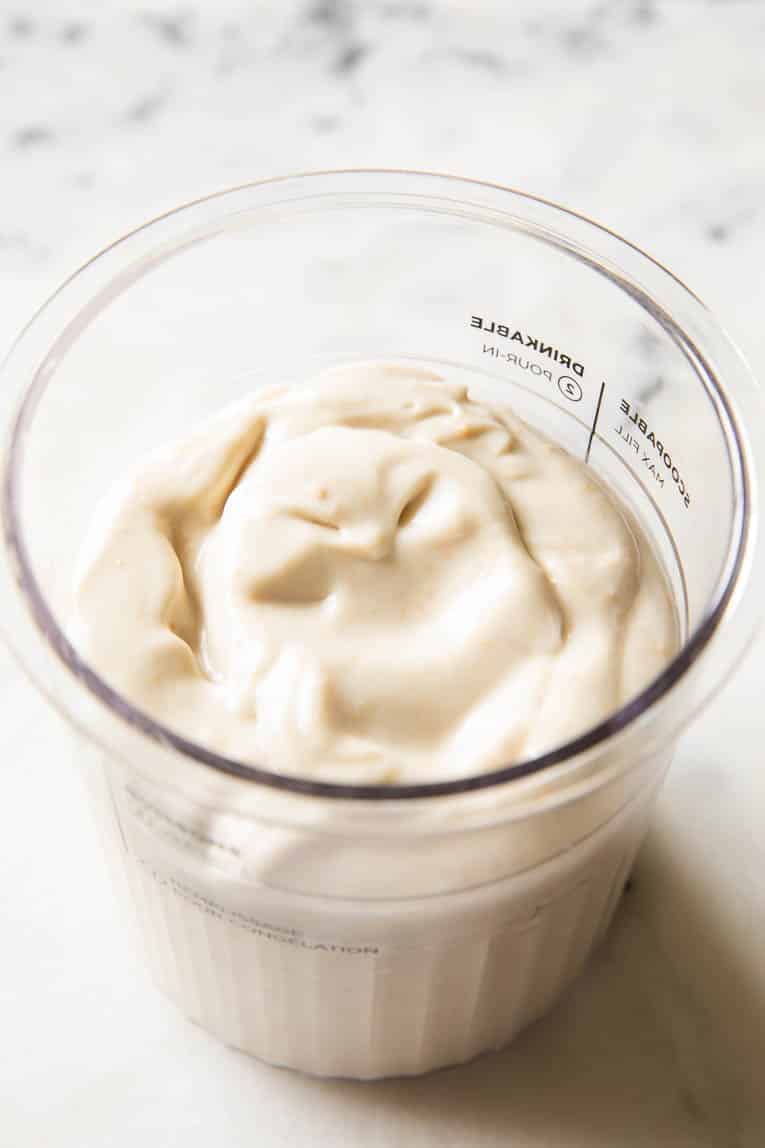
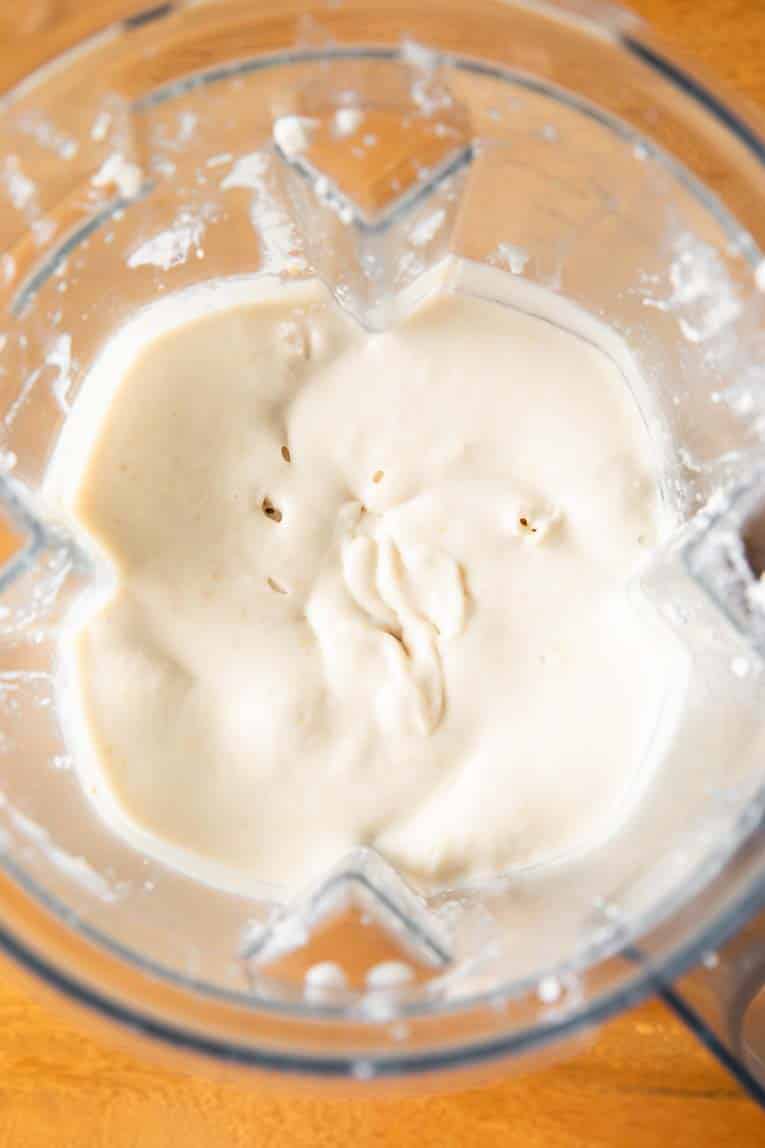
- Blend – Use the “ice cream” setting to blend the pint.
- Re-spin – Use the “re-spin” setting once or twice until you achieve a thick, creamy consistency, and enjoy!
No Creami? No Problem! Blender Option
If you don’t have a Ninja Creami, you can still make guava ice cream using a blender!
- Blend – Prep the guavas, and combine all the ingredients in a blender.
- Strain – Pour the liquid through a fine mesh sieve, and discard the guava seeds.
- Freeze – Transfer the guava mixture to an ice cream tray, and freeze until solid. Again, I recommend freezing your ice cream overnight!
- Blend – Place the frozen cubes in a blender, and pulse until a thick, creamy consistency forms, adding coconut milk as needed to blend the ingredients. Enjoy!
Tips
- Use very ripe guavas. Similar to the concept of using ripe bananas for high-protein banana bread, the softer and riper your guavas are, the sweeter and more flavorful your ice cream will taste. Firm guavas can be more tart and less fragrant. Plus, they’re harder to blend.
- Strain for the smoothest texture. Guava seeds are completely edible, but they’re very hard and not super pleasant to eat. So, I always make sure to strain them out of my ice cream before freezing.
- Freeze on a flat surface. For the best results, freeze your ice cream pint on a flat surface. A level surface makes the ice cream much easier to blend evenly.
- Add a splash of coconut milk if needed. If your ice cream mixture still seems crumbly after spinning and re-spinning, add a small splash of coconut milk before re-spinning for a second time for an even creamier consistency.
RELATED: Protein Ice Cream Recipe
Variations
Add Protein. Include a scoop of vanilla protein powder to make your guava ice cream more filling. You may need an extra splash of coconut milk before freezing to combine the ingredients.
Add Lime Flavor. Stir in a little fresh lime zest or a squeeze of lime juice for a bright, citrusy twist that pairs perfectly with the guava.
Make It Extra Tropical. Blend in chunks of mango, pineapple, or passion fruit for a fruitier flavor combination that tastes like a tropical smoothie.
Use Coconut Cream. For an even more decadent flavor and thicker, creamier consistency, swap the coconut milk with coconut cream. Just note that it creates a thicker mixture, making it harder to strain out the guava seeds.
Add Mix-Ins. After spinning, add Healthy Homemade Granola, toasted coconut flakes, crushed graham crackers, or white chocolate chips using the mix-in setting.
Make Guava Cheesecake Ice Cream. Mix in crushed graham crackers and small cubes of cream cheese after spinning for a fun cheesecake-inspired recipe.
Serving Suggestions
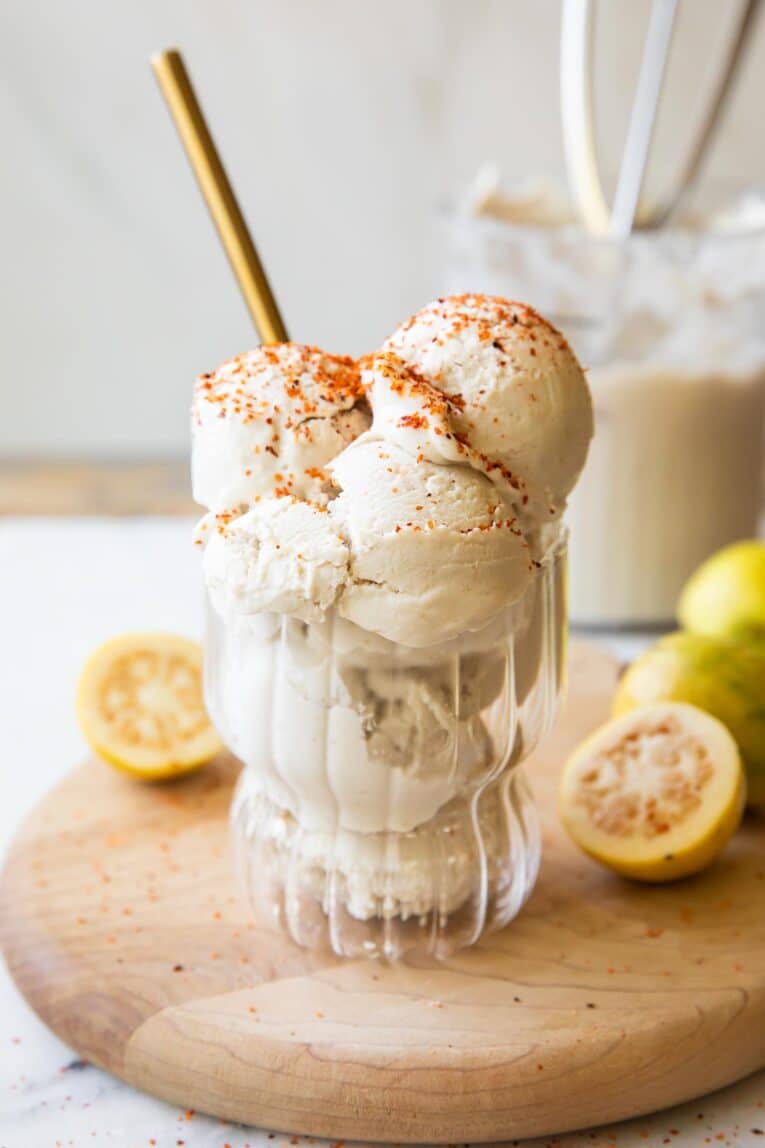
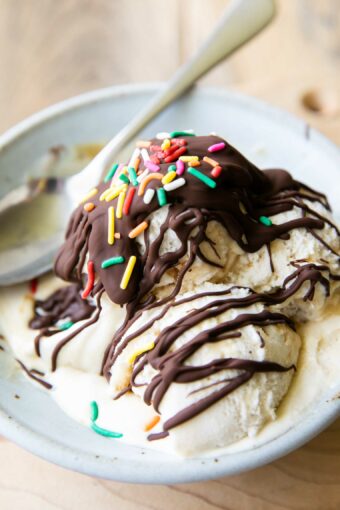
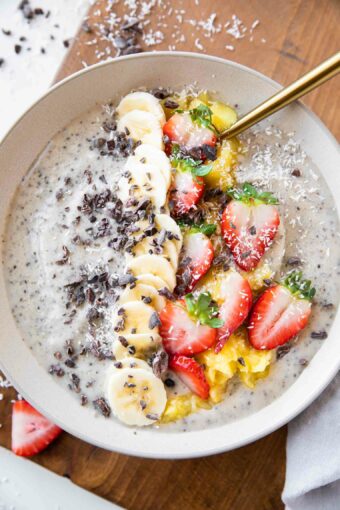
This guava ice cream is incredible eaten straight from the pint, but that doesn’t mean you can’t get creative. Have fun with toppings like Tajin, sliced strawberries, mango, pineapple, extra guava, coconut flakes, granola, whipped cream, or a drizzle of maple syrup or honey.
Or, spoon your ice cream into a cone or between graham crackers for an ice cream sandwich.
How to Store
Once frozen, you can store unblended guava ice cream pints in the freezer for 1-2 weeks. Or, store blended pints in the freezer for up to 1 week. I always press a piece of plastic wrap or parchment paper directly on top of the ice cream before adding a lid to prevent freezer burn!
Healthy Ice Cream Recipes You’ll Love
- Healthy Pumpkin Ice Cream
- Cookie Dough Ice Cream
- Greek Yogurt Ice Cream
- Brownie Batter Ice Cream
- Pistachio Cottage Cheese Ice Cream
- Healthy Strawberry Cottage Cheese Ice Cream
More Refreshing Summer Treats
- Healthier Lemon Posset
- Coconut Peach Popsicles
- Whipped Lemonade Recipe
- Strawberry Chia Seed Popsicles
- Lemon Sweet Tea Popsicles
- Peaches and Cream Popsicles
Want to save this recipe? Enter your email below and I’ll send the recipe to your inbox. Plus you’ll get new healthy recipes every week!

Guava Ice Cream
Video
Ingredients
- 6-7 whole small fresh guavas (approx. 275 grams)
- 1 15-ounce can full fat coconut milk (stirred well and divided*)
- 1/4 cup maple syrup
- 1 teaspoon vanilla extract
- Tajín (optional topping)
Instructions
- Cut off the very end of each guava and discard. Cut guavas in half.
- Place the guava halves into a blender with the coconut milk, maple syrup and vanilla extract.
- Blend until smooth, about 1 minute.
- Strain through a fine mesh sieve over a bowl. Discard the seeds caught in the sieve.
- Transfer the strained mixture to a Ninja Creami pint jar and add the lid.
- Freeze for at least 6 hours or overnight!
- When ready, place the pint jar in the machine and blend with the “ice cream” setting on full.
- It will likely look powdery at this point. Respin 1 to 2 times until super thick and creamy.
- Scoop into bowls to serve and sprinkle with Tajín!
Notes
- The guavas should be ripe and very soft. I used the skins, which were very thin and worked perfectly well without any bitter flavor.
- If you want to strain the seeds, use coconut milk! If you want to use coconut cream you’ll get a thicker texture and can’t strain them. The seeds are safe to eat and full of nutrition, but they are quite hard to chew!


Leave a Reply