Table of Contents
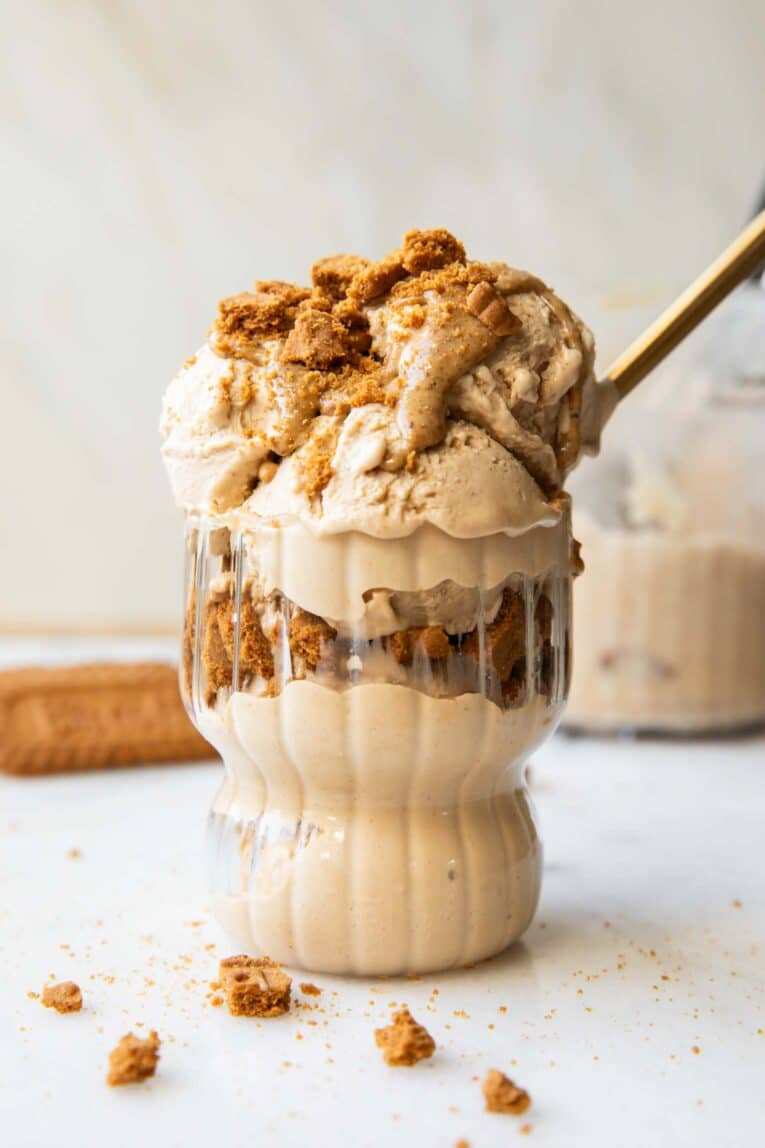
Cottage Cheese Biscoff Ice Cream
Welcome to another episode of my “Scoopable” series! I’ve been recreating all my favorite ice cream flavors, like Guava Ice Cream and Salted Caramel Ice Cream, giving them a healthier, protein-forward twist, sharing them here on the blog and on Instagram.
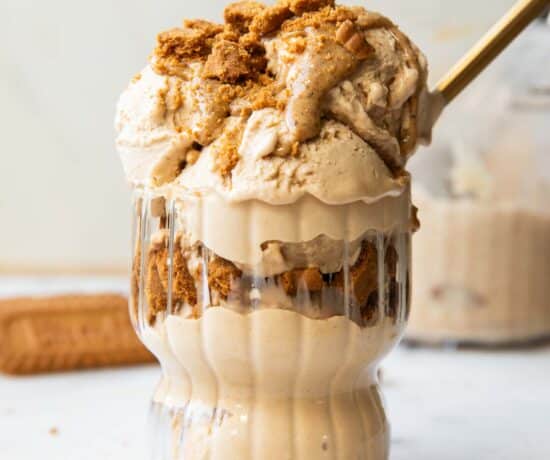
This time, I’m taking inspiration from one of my all-time favorite cookies! I loved Biscoff cookies in my Japanese Cheesecake recipe, so adding them to this healthy ice cream recipe felt like a must. This recipe combines cottage cheese, maple syrup, and swirls of nut butter to create a frozen treat that’s thick, smooth, creamy, and full of sweet, spiced cookie flavor in every bite.
Once frozen and spun, the result is a thick, scoopable ice cream that tastes like a cross between cookie butter and cheesecake. It’s safe to say this one disappeared from my freezer very quickly!
Why You’ll Love This Recipe
- Minimal Ingredients – You only need 5 simple ingredients, most of which you probably have on hand, to create a homemade ice cream that tastes like it came from an ice cream shop.
- Sweet, Spiced Flavor – Every bite is infused with the sweet, cinnamon-spiced taste of Biscoff cookies, creating a unique flavor I’m obsessed with.
- Creamy Consistency – The combination of cottage cheese and nut butter creates an ultra-smooth texture just like regular ice cream. Truly, you won’t notice a difference!
- Better-For-You – Naturally sweetened, this Biscoff ice cream provides 24 grams of protein per serving but tastes completely indulgent for a sweet treat that satisfies your sweet tooth and actually keeps you full.
RELATED: Cookie Dough Ice Cream
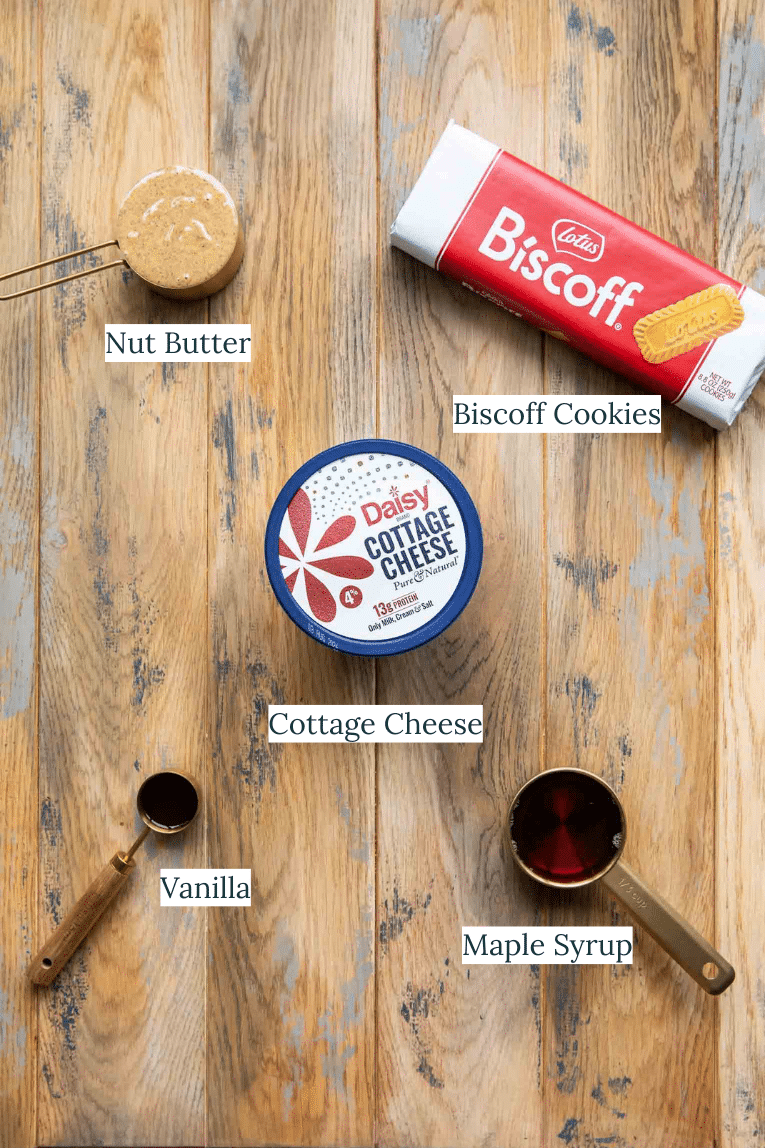
Ingredients
- Cottage Cheese – Full-fat cottage cheese creates the thickest, creamiest, most “ice cream-like” texture, but any fat percentage and curd size will work.
- Maple Syrup – This adds sweetness and a subtle molasses taste without the need for refined sugar.
- Vanilla – Make sure to use high-quality pure vanilla extract. Because there are so few ingredients, you really will taste a difference!
- Biscoff Cookies – The star of the show! I use at least 11-12 cookies, but feel free to add as many as your heart desires.
- Nut Butter – This contributes to the creamy consistency. I prefer to use a neutral nut butter like almond butter or cashew butter to really let the flavor of the cookies shine through.
How to Make Biscoff Ice Cream
Once you realize how easy it is to make ice cream at home, you’ll never buy store-bought pints again! All you need is a regular blender or an immersion blender, a Ninja Creami pint container, and a Ninja Creami. Here’s how to make this Biscoff Ice Cream Recipe:
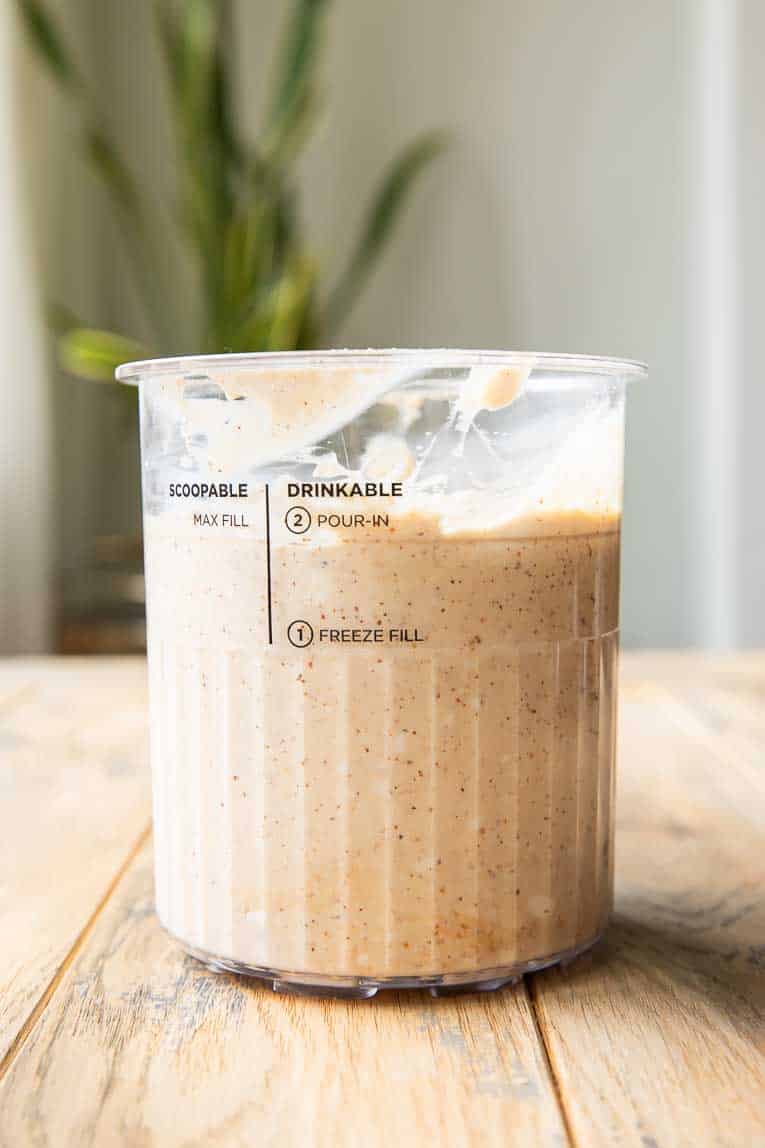
- Blend ingredients – Use a regular blender or immersion blender to combine the cottage cheese, maple syrup, and vanilla, blending until the mixture is smooth and creamy.
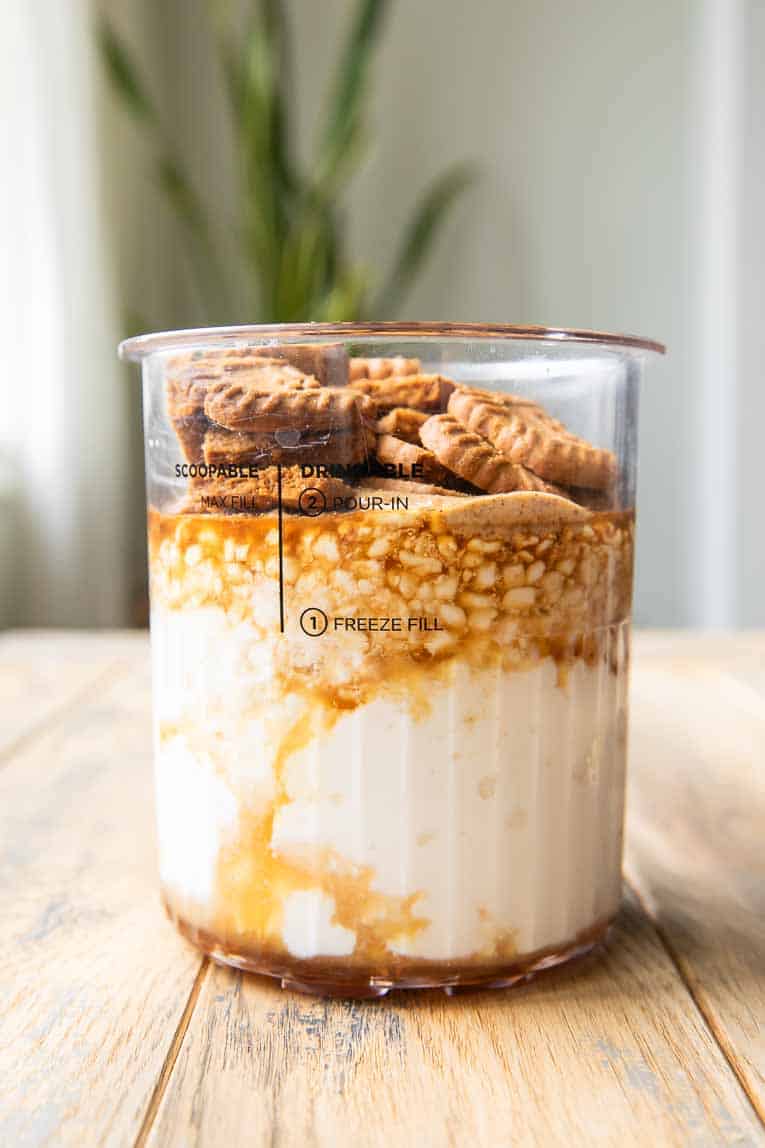
- Add mix-ins – Pour the cottage cheese mixture into a pint container, and add half of the nut butter and half of the cookies. Blend again just enough to lightly break up the cookies and distribute the ingredients throughout the ice cream. We don’t want the mixture to be completely smooth, or you won’t get any cookie chunks!
- Freeze – Place the lid on the container, and transfer the pint to the freezer for at least 6 hours.
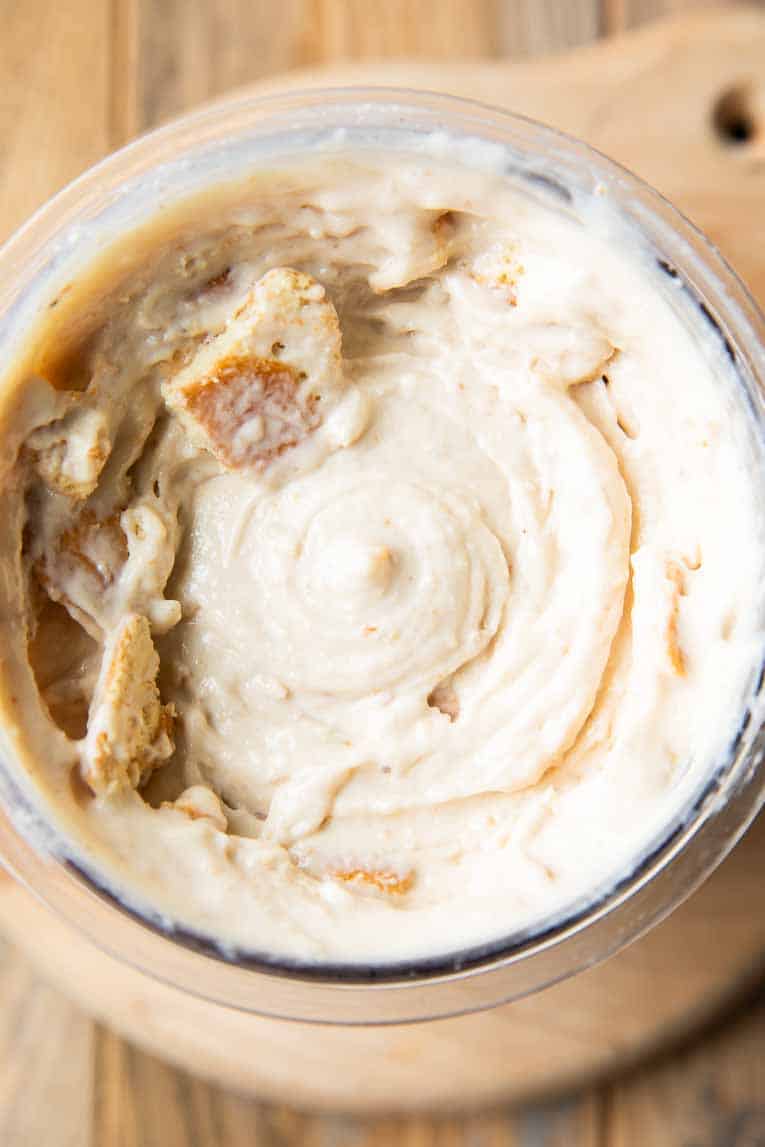
- Blend – Blend the pint using the “Ice Cream” setting on the Creami. Then, make a well in the center of the pint, add the remaining nut butter and cookies, and use the “Mix-In” function to blend.
- Serve – Enjoy right away with your favorite toppings!
Blender Option
No Creami? No worries! You can still make this Biscoff cookie ice cream with just a blender.
- Combine – Blend the cottage cheese, maple syrup, and vanilla until smooth.
- Freeze – Pour the mixture into an ice cube tray, and freeze until solid. I recommend allowing the ice cream to freeze overnight for the best results! However, if you’re in a hurry, you can get away with 6 hours if needed.
- Mix and serve – Transfer the frozen cubes to a high-speed blender or food processor, and pulse until the mixture is smooth and creamy. Add the mix-ins, and pulse again just long enough to combine. Enjoy!
Tips
- Blend until completely smooth. Take your time blending the cottage cheese, making sure to remove all the lumps.
- Freeze overnight for the best results. While 6 hours works, freezing overnight helps the base fully solidify and spin into an even creamier consistency.
- Break the cookies into different sizes. Some larger chunks and some smaller crumbs create the perfect balance of crunch and cookie flavor throughout the ice cream.
- Adjust the sweetness. Use more or less maple syrup depending on how sweet you want your ice cream.
- Re-spin if needed. If the ice cream looks crumbly after the first spin, simply run the Re-Spin function once or twice until smooth and creamy, adding a splash of milk if needed.
- Use two pints. I was able to fit all the ingredients in one pint, but it was pretty full! Feel free to divide the ice cream between two Creami pints for easier mixing and storage.
RELATED: Cottage Cheese Ice Cream
Variations
Use Biscoff cookie butter. Replace the almond butter with Biscoff cookie butter for an even more intense cookie flavor.
Make it chocolatey. Add mini chocolate chips during the Mix-In cycle, or drizzle melted chocolate over the top before serving.
Add espresso. Blend 1-2 teaspoons of instant espresso powder into the base for a coffeehouse-inspired Biscoff ice cream.
Try different nut butters. Peanut butter, cashew butter, or sunflower seed butter all work well and add their own unique flavor.
Add a caramel swirl. Mix in a few spoonfuls of caramel sauce for a decadent salted caramel Biscoff variation.
Add crunch. Stir in chopped pecans, walnuts, or roasted almonds along with the cookie pieces for nutty flavor and a crunchy texture.
Create a cheesecake version. Add a few tablespoons of softened cream cheese to the base for a Biscoff cheesecake ice cream twist.
Serving Suggestions
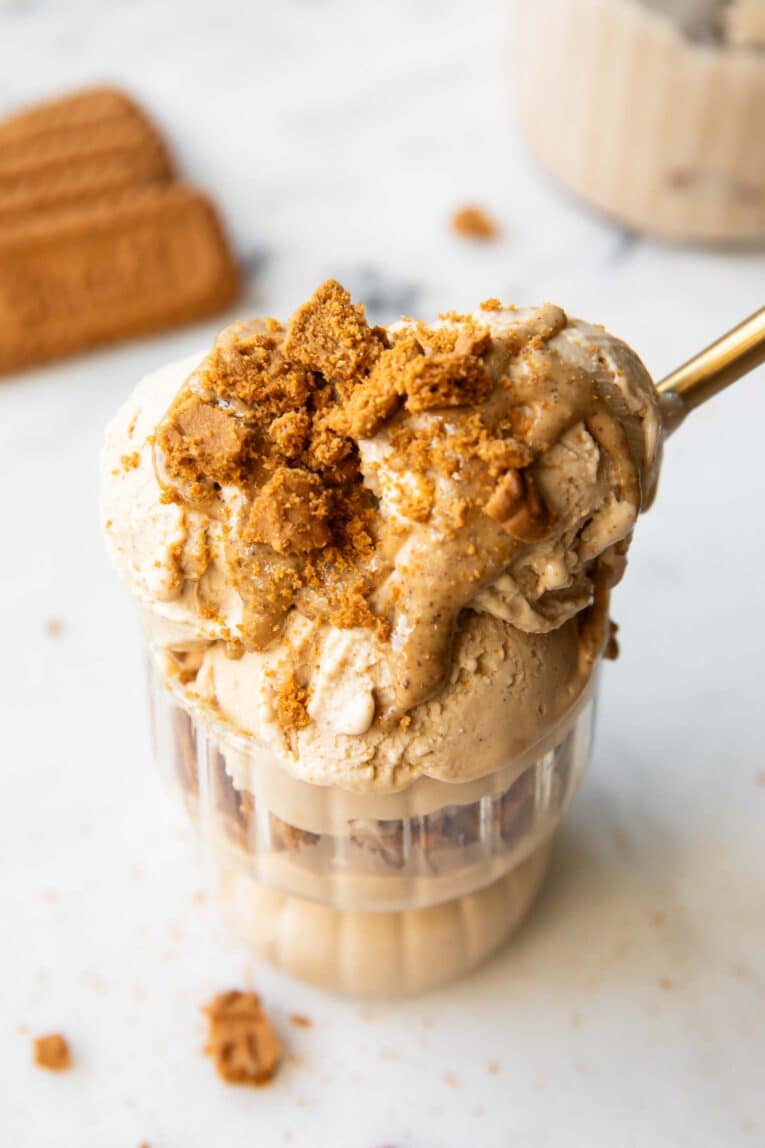
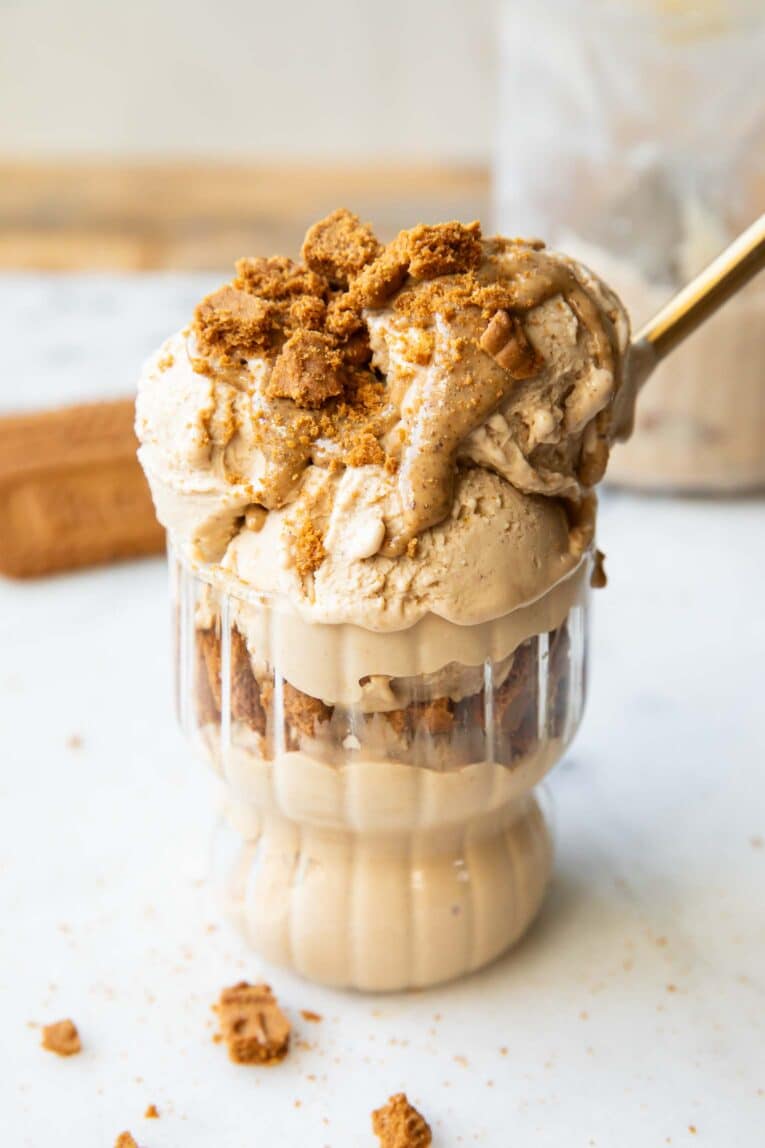
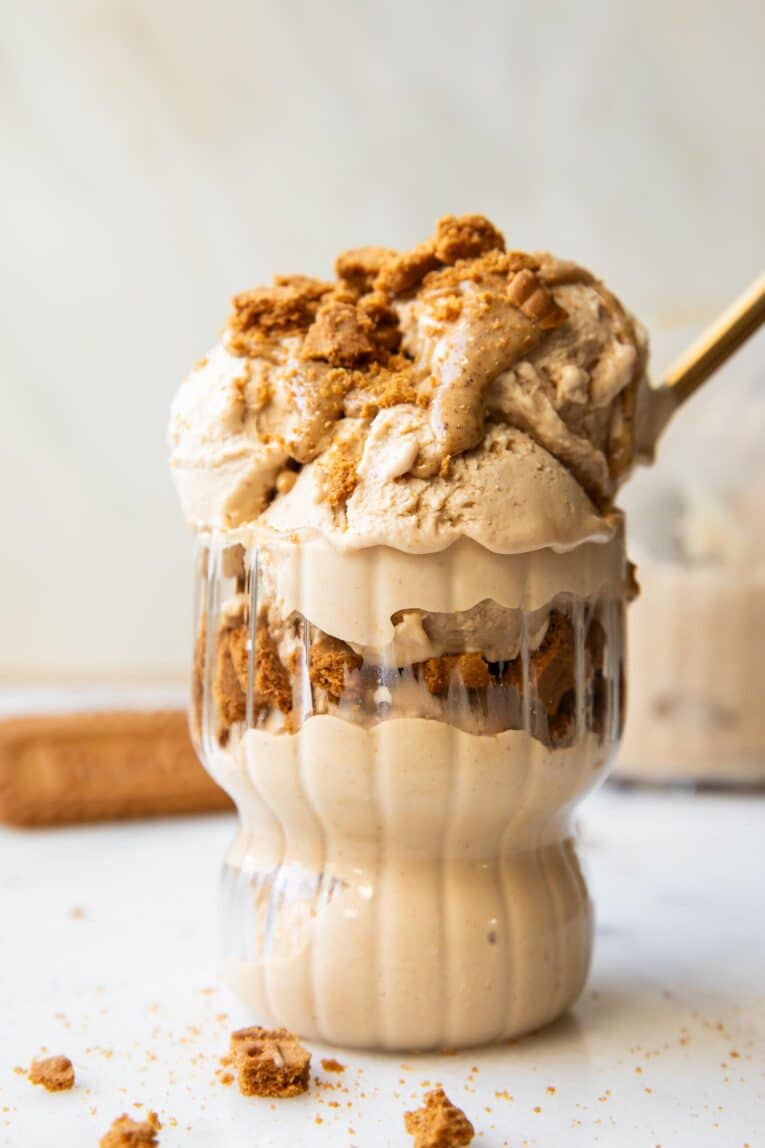
I like to eat my Biscoff ice cream straight from the pint, adding an extra drizzle of almond butter and a few crushed Biscoff cookies. The combination of creamy ice cream, crunchy cookies, and nutty swirls is hard to beat!
If I’m sharing, I’ll scoop it into bowls or waffle cones and set out toppings like cookie butter, extra crushed Biscoff cookies, chopped pecans, chocolate chips, whipped cream, or a drizzle of caramel sauce so everyone can customize their own.
Or, for an extra fun treat, try sandwiching the ice cream between two almond flour chocolate chip cookies, serving it alongside high-protein brownies, or scooping it over warm almond flour waffles or protein pancakes.
How to Store
Store pints in the freezer for 1-2 weeks. Then, you can quickly blend them, adding the mix-ins, when you’re ready to serve!
Or, if you have leftover blended Biscoff cookie ice cream, store it in an airtight container in the freezer for up to 1 week. Use the “Re-Spin” function, adding a small splash of milk, to blend the ice cream again if it looks a little crumbly.
Even More Ways to Use Cottage Cheese
- Cottage Cheese Pancakes
- Cottage Cheese Muffins
- Cottage Cheese Cinnamon Rolls
- Cottage Cheese Pumpkin Cheesecake
- Cottage Cheese Protein Brownies
- Cottage Cheese Chocolate Chunk Cookies
Looking for more? Find 35+ cottage cheese recipes!
Healthy Ice Cream Recipes You’ll Love
- Healthy Pumpkin Ice Cream
- Greek Yogurt Ice Cream
- Brownie Batter Ice Cream
- Pistachio Cottage Cheese Ice Cream
- Lemon Ice Cream
- Vegan Salted Caramel & Chamomile Ice Cream
Want to save this recipe? Enter your email below and I’ll send the recipe to your inbox. Plus you’ll get new healthy recipes every week!

Biscoff Ice Cream
Video
Equipment
- Immersion Blender or Regular Blender
Ingredients
- 3 cups cottage cheese
- 1/3 cup maple syrup
- 1 teaspoon vanilla extract
- 11-12 Biscoff cookies (or more, to your heart’s desire!, divided)
- 1/2 cup nut butter (almond butter, plus more for topping, divided)
Instructions
- Use a regular or immersion blender to blend the cottage cheese, syrup, and vanilla until smooth.
- Pour into a pint container and add 1/2 of the nut butter and 1/2 of the cookies.
- Lightly blend it together again, just enough to break up the cookies and mix everything in. Save the other half of the cookies and nut butter for the next day.
- Add the lid and freeze for at least 6 hours, or up to overnight.
- When ready, use the Ninja Creami on the “Ice Cream” setting.
- Make a well in the center of the ice cream, then add in the remaining cookies and nut butter.
- Use the “Mix-In” function on the Creami.
- Scoop, add any toppings you want, and enjoy!
Notes
- I was able to fit all the ingredients in one pint, but it was pretty full! Feel free to divide the ice cream between two Creami pints for easier mixing and storage.


Wendi Murray says:
Can this be made without using the Creami? It sounds delicious but I don’t have an ice cream machine.
JOL Team replied:
Hey Wendi! Absolutely! I have the directions in the post how to make it using just a blender! You’ll find the directions between the “how to make” and the “tips/variations.” Enjoy!