
Peanut Butter Chocolate Healthy Donuts with Cottage Cheese
If you love donuts like I do (been one of my favorite foods since I was a kiddo) but you don’t like the ingredients list and all of the added sugar, then you will really love this better-for-you version! I’ve been making Protein Donuts and Healthy Vegan Carrot Cake Donuts for years, but these cottage cheese donuts truly have the best thick and fluffy texture! And the peanut butter chocolate topping….oh my goodness. She’s next-level, y’all.
After years of testing and perfecting, these healthier donuts are truly the best they’ve ever been! They’re soft and cakey like a traditional bakery donut, while also rich and chocolatey with a boost of protein. And you can’t even taste the cottage cheese at all! They come together in minutes with no fancy equipment, they’re baked instead of fried, and they’re perfectly moist. Just blend, bake, drizzle, and devour for the best cottage cheese donuts!
RELATED: Maple Gluten-Free Donuts

What Makes these Donuts Healthy
You can turn regular sugar-laden donuts into guilt-free, healthy treats by making a few simple and easy changes and adaptations!
- Bake the donuts instead of frying them. This gets rid of all the unnecessary saturated fat and oil.
- Replace refined sugars with healthy natural ingredients such as dates.
- Add fiber to keep you full and satisfied.
- Add an extra boost of vitamins and antioxidants in the form of nuts or seeds.
Ingredients
For the Donuts
- Eggs – The binder for this recipe.
- Avocado Oil – Adds moisture and richness. Extra virgin olive oil will also work, but the flavor will change slightly.
- Creamy Natural Peanut Butter – Adds delicious nutty flavor. It’s important to use creamy varieties to keep the right texture.
- Maple Syrup – Sweetens the batter. Honey also works!
- Cottage Cheese – I like using full-fat cottage cheese, but any will work. The higher the fat content, the richer and moister your doughnuts will be.
- Milk – Helps combine the ingredients. I like to use 2% for a richer taste and substitute almond milk when I don’t have dairy milk on hand.
- Vanilla Extract – Adds depth and enhances the rest of the ingredients.
- All-Purpose Flour – Substitute a 1:1 all-purpose gluten-free flour if you need to keep these chocolate peanut butter donuts gluten-free.
- Almond Flour – Use super fine, unbleached almond flour for the best results. The texture will be a little denser than using all-purpose flour, but light compared to coarser ground almond flour. I also love almond flour in this Protein Cookie Dough.
- Baking Powder – Helps the donuts rise, becoming soft and fluffy. Make sure it’s fresh!
- Salt – Just a pinch enhances the rest of the ingredients.
Glaze
- Cottage Cheese – Forms the base of the glaze, adding even more protein. Again, I prefer using full-fat cottage cheese, but any percentage will work.
- Unsweetened Cocoa Powder – Hershey’s is my fave!
- Maple Syrup – Honey also tastes great.
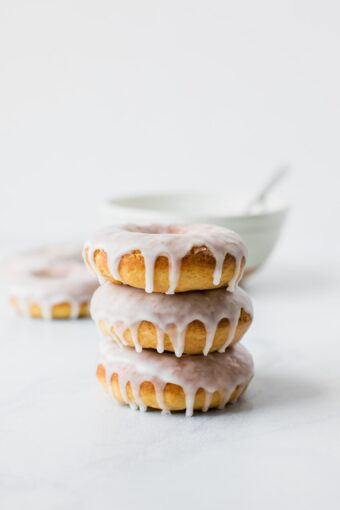
You’ll Also Love: Baked Glazed Doughnuts

How to Make Peanut Butter Chocolate Donuts
These baked healthy donuts couldn’t be easier to make! You’ll need a donut pan, a high-speed blender, a ziplock bag, and a cooling rack. Here’s how to make high-protein cottage cheese donuts:
- Blend the Wet Ingredients – Add eggs, avocado oil, peanut butter, maple syrup, cottage cheese, milk, and vanilla to a high-speed blender. Blend until smooth.
- Add the Dry Ingredients – Gently mix in the flours, baking powder, and salt using a spoon or spatula (right in the blender). Then, blend just until combined. Don’t overblend! Overblending can overwork the gluten in the dough, making the donuts tough and rubbery.
- Pipe into the Donut Pan – Pour the batter into a zip-top bag, snip the corner, and pipe into a greased donut pan.
- Bake – Bake at 350°F until a toothpick inserted into the center comes out clean. Let the donuts cool slightly before turning them out onto a wire rack.
- Make the Glaze – While the donuts cool, wash out the blender, then add the cottage cheese, cocoa powder, and maple syrup. Blend until smooth and creamy.
- Drizzle & Chill – Once the donuts are fully cooled, drizzle with the prepared glaze. Pop the donuts in the fridge for about 30 minutes to let the icing set, and enjoy!
Don’t Have a Donut Pan?
No problem! Donut pans are essentially the same thing as a muffin pan, just with a different shape. Grease the muffin tin well, fill the cavities about 2/3 full, and bake. Be sure to test it with a toothpick as it may need a slightly longer bake time!


Tips
- Don’t Overblend the Batter – This may be my most important tip! The first time I made these, I completely over blended the batter and learned the hard way that the donuts sink after baking if you do that. Blend JUST until everything is incorporated, it makes a huge difference!
- Grease the Donut Pan Well – Even if your pan is nonstick, a good layer of cooking spray ensures the donuts release cleanly after baking.
- Cool Before Glazing – Let the donuts cool completely before drizzling with the chocolate glaze. If the donuts are warm, the glaze will slide right off!
- Make It a Fun Topping Bar – Set up chopped peanuts, melted peanut butter, or mini chocolate chips so everyone can decorate their own donut! My kids absolutely love this.
Variations
- Gluten-Free – Swap the all-purpose flour for a 1:1 gluten-free baking flour blend. The almond flour stays the same! Then, just make sure to double-check the ingredient labels on the rest of the ingredients.
- Double Chocolate Protein Donuts – Add 2 Tablespoons of cocoa powder to the donut batter and stir in a small handful of mini chocolate chips before baking.
- Peanut-Free Version – Use almond butter or sunflower seed butter in place of peanut butter. Just make sure it’s stirred well and the consistency is smooth!
- Cinnamon Sugar Protein Donuts – Skip the chocolate glaze and brush the baked donuts with melted butter and dust with a mix of coconut sugar and cinnamon.
- Yogurt Glaze – Swap the cottage cheese with Greek yogurt if you want!
- Toppings – Add extra flavor and crunch by topping the donuts with chopped peanuts, chocolate chips, sprinkles, or a drizzle of peanut butter.

How to Store
For the best results, I recommend storing leftover donuts with frosting. It tends to make them soggy!
Fridge – Once cool, transfer leftover donuts to an airtight container, and store them in the fridge for 1-2 days.
Freezer – Store the donuts (without frosting) in a freezer-safe container for 2-3 months. Thaw in the fridge overnight, and add the glaze just before serving! They’re great cold but can easily be warmed for a few seconds in the microwave.

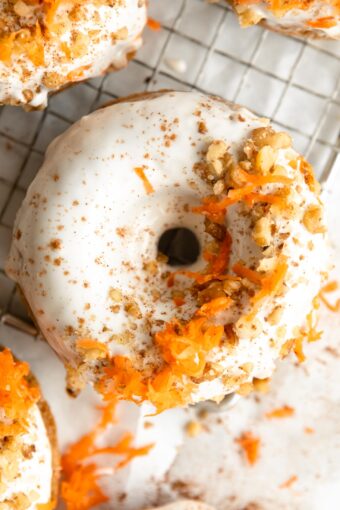
Healthy Breakfast Treats You’ll Love
- Lemon Poppy Seed Healthy Baked Donuts
- Blueberry Banana Baked Oatmeal
- Pumpkin Muffins
- Wholesome Peach Muffins
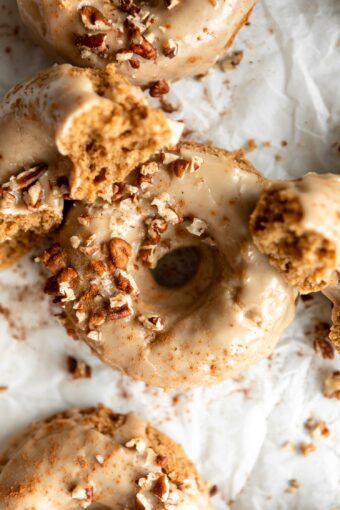
More Ways to Use Cottage Cheese
- Cottage Cheese Brownies
- Cottage Cheese Muffins
- Cottage Cheese Pancakes
- Cottage Cheese Ice Cream
- Cottage Cheese Cinnamon Rolls
- Cottage Cheese Egg Bites
Want to save this recipe? Enter your email below and I’ll send the recipe to your inbox. Plus you’ll get new healthy recipes every week!


Peanut Butter Chocolate Blender Donuts
Video
Ingredients
Donut
- 2 large eggs
- 2 Tablespoons avocado oil
- 1/2 cup creamy natural peanut butter (stirred well)
- 1/2 cup maple syrup
- 1 cup 4% cottage cheese
- 1/2 cup almond milk or 2% milk
- 2 teaspoons vanilla extract
- 1 1/2 cups all-purpose flour (spooned and leveled)
- 1/2 cup almond flour
- 2 teaspoons baking powder
- 1/8 teaspoon salt
Glaze
- 1/3 cup 4% cottage cheese
- 3 tablespoons unsweetened cocoa powder (like Hershey’s)
- 1/4 cup maple syrup
Instructions
- Preheat the oven to 350°F. Grease a donut baking pan with nonstick cooking spray.
- In a high speed blender, combine the eggs, oil, peanut butter, maple syrup, cottage cheese, milk, and vanilla and blend until smooth.
- Add the flour, almond flour, baking powder and salt. Use a spoon or rubber spatula to lightly mix everything together in the blender. Then, cover the blender and blend for 1 minute until smooth, pausing and scraping the sides of the blender if needed. The batter will look mostly smooth and thick. Don’t overblend otherwise the batter will result in a tough donut or it could sink!
- Transfer the mixture to a ziplock, snip the corner, and pipe the donut mixture into the donut pan. You will need to do this in 2-3 batches since it makes 12-14 donuts.
- Bake for 20-25 minutes or until a toothpick inserted into the center comes out clean.
- Let cool for 10 minutes before turning donuts onto a cooling rack to cool completely.
- Wash out the blender. Combine all the glaze ingredients in the blender and blend for 1-2 minutes until smooth.
- Once donuts are fully cooled, drizzle the top of each donut with the glaze using a spoon and place back onto a plate. Set in the fridge for 30 minutes to firm up the icing.
Notes
- Donuts are best stored without the frosting, and then store the chocolate drizzle in the fridge separately. Drizzle right before serving! You can technically top with the chocolate drizzle, place in a container, and refrigerate overnight, but after 1-2 days, the donuts may dry out a bit in the fridge.
- Make sure not to over blend the donuts! This can cause them to sink. Blend JUST until combined for best results!

Kala says:
Can these be made with a different flour other than almond? I can’t have almonds.
JOL Team replied:
Hey Kala, Thanks so much for asking. I haven’t tested it with any other flours, but any other nut flour or sunflower flour should be able to be swapped for the almond flour.
Victoria says:
Can these be made with just almond flour ?
Christine McMichael replied:
No, unfortunately the texture would be off if only using almond flour. I definitely recommend keeping all-purpose in there, but you can always swap it for a 1-to-1 gluten-free flour!
Jaleah says:
These donuts are amazing! Love that you can make them in the blender.
Nicole says:
These peanut butter chocolate blender donuts are so delicious! They are such a yummy treat.
Claudia-Cristina says:
I tried these peanut butter chocolate healthy donuts and they came out soft, chocolatey, and just the right amount of peanut butter—guilt-free and tasty!