WATCH: How to Make Waffles (Gluten Free)
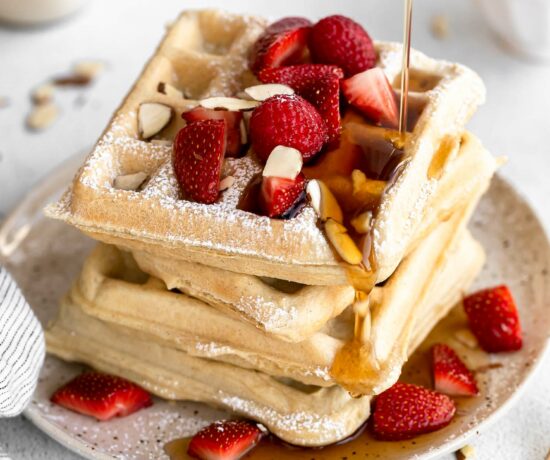
There’s just something about Saturday morning waffles that make weekends so much sweeter! Hot, fresh off the waffle iron, waffles covered in syrup (or whatever your sweet topping of choice) start the day off right. And when you can make waffles that will be ready to eat in 20 minutes or less, that’s a recipe you’ll want to keep on repeat!
These waffles use ingredients you likely have in your pantry, and they’re also so perfect for making ahead. Just freeze them and pop them in the toaster when you’re ready to eat! These waffles are the perfect combination of soft and fluffy with a slightly crisp outside.
RELATED: Easy Protein Waffles Recipe
Why These GF Waffles are the BEST
These GF Waffles are everything I want in an easy weekend breakfast: quick, fluffy, golden, and made with simple ingredients. They come together in 20 minutes or less, which makes them perfect for slow Saturday mornings or busy weekdays when you still want something warm and cozy.
- 20 Minutes – From mixing the batter to pulling hot waffles off the waffle iron, this recipe is ready SO fast.
- Gluten-Free – Made with gluten-free all-purpose baking flour for an easy breakfast everyone can enjoy.
- Thick & Fluffy – The batter is meant to be thick, which helps the waffles cook up fluffy on the inside with the best lightly crisp edges.
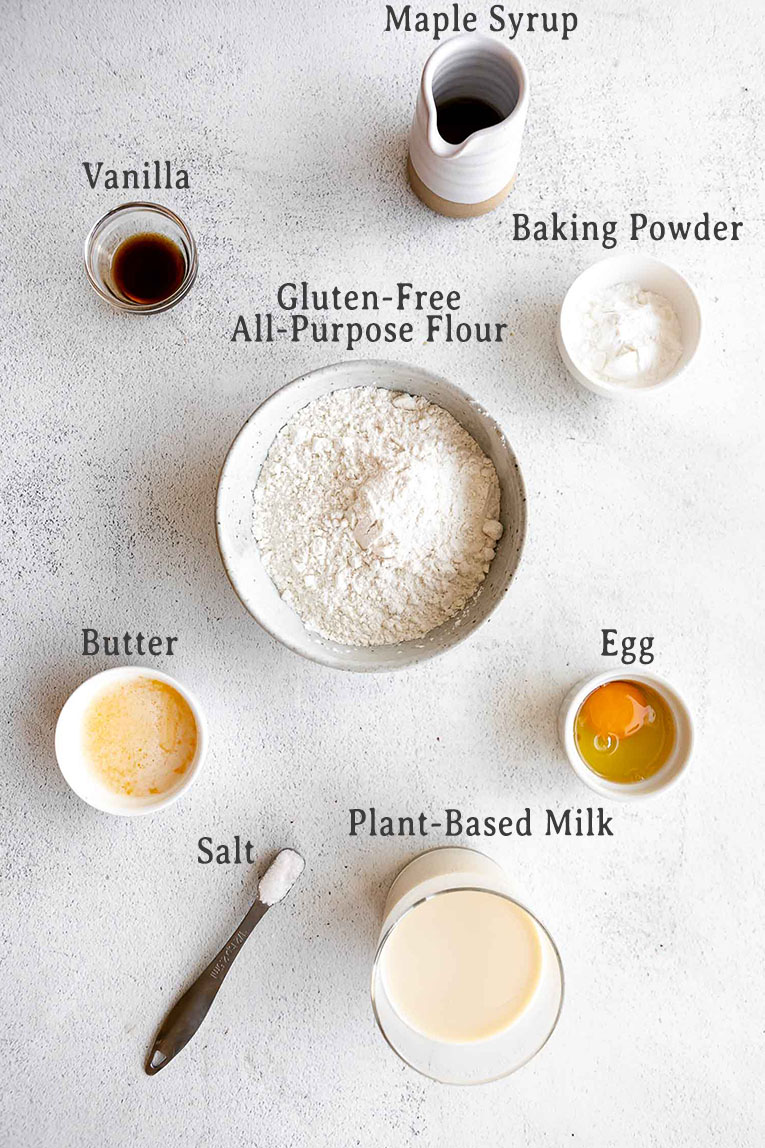
- Simple Ingredients – You only need a few basics like non-dairy milk, maple syrup, vanilla, an egg, melted butter or coconut oil, gluten-free flour, baking powder, and salt.
- Freezer-Friendly – These waffles freeze SO well and can be reheated just like store-bought frozen waffles. Pop one in the toaster and breakfast is ready!
- Kid-Friendly – My kids love these with fresh fruit and maple syrup, and I love that they’re easy enough to make on repeat.
Gluten Free Waffle Recipe Ingredients
To make this super easy Gluten-Free Waffle recipe, you’ll need just SEVEN simple ingredients! Here’s what you’ll need:
- Non-Dairy Milk – I like to use almond milk, oat milk, or cashew milk.
- Maple Syrup – A natural sweetener!
- Vanilla
- Egg – Feel free to easily make this recipe vegan with a vegan egg substitute!
- Melted Butter or Coconut Oil – Make this dairy-free with vegan butter or coconut oil.
- Gluten-Free All-Purpose Baking Flour – I used Bob’s Red Mill 1:1. Pillsbury brand is also really good!
- Baking Powder/ Salt
You’ll Also Love: 100+ Quick Healthy Breakfast Ideas
Why Your Gluten-Free Flour Choice Matters
The flour you use in this recipe really matters! I recommend using a gluten-free 1-to-1 baking flour that already has xanthan gum in it. This helps the waffles stay fluffy on the inside and crisp on the outside! A couple of great options are Bob’s Red Mill or King Arthur’s gluten-free flour blends.
If your flour doesn’t have xanthan gum, just add about 1/2 teaspoon to the batter. It makes a big difference in helping the waffles hold together and not fall apart!
And one more quick tip: some flour blends soak up more liquid than others. If your batter ends up way too thick, just whisk in a little extra milk until it’s thick but pourable.
How to Make Gluten Free Waffles
It really doesn’t get any easier than this Gluten-Free Waffles recipe! Just 10 minutes of prep time and 10 minutes of cook time. A perfect recipe for families with hungry little ones on those lazy Saturday mornings! Here’s what you need to do:
- Whisk together all wet ingredients.
- Whisk in the dry ingredients. The batter will be fairly thick, which helps keep the waffles thick and fluffy.
- Heat and grease the waffle iron. The batter will continue to thicken and almost puff up a bit as it sits because of the baking powder. Give it a good whisk before adding it to the waffle maker.
- Once hot, cook according to the instructions on the waffle maker.
- Place the cooked waffles on a wire rack while the others cook to prevent the bottoms from getting soggy.
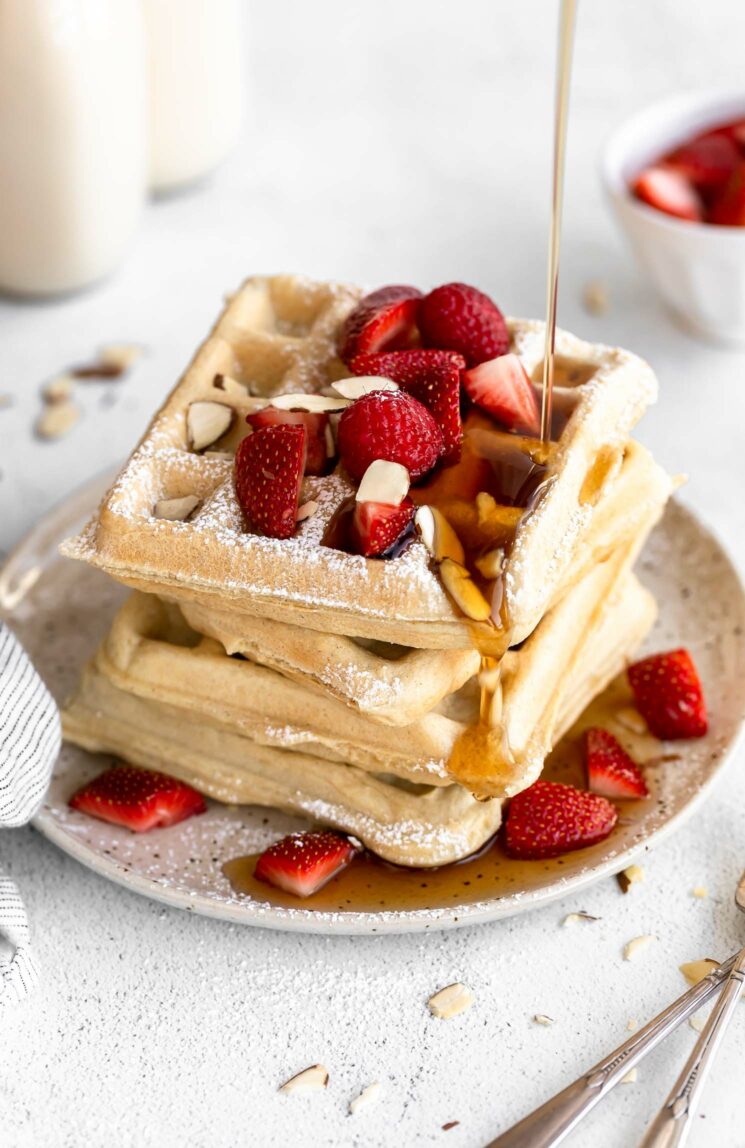
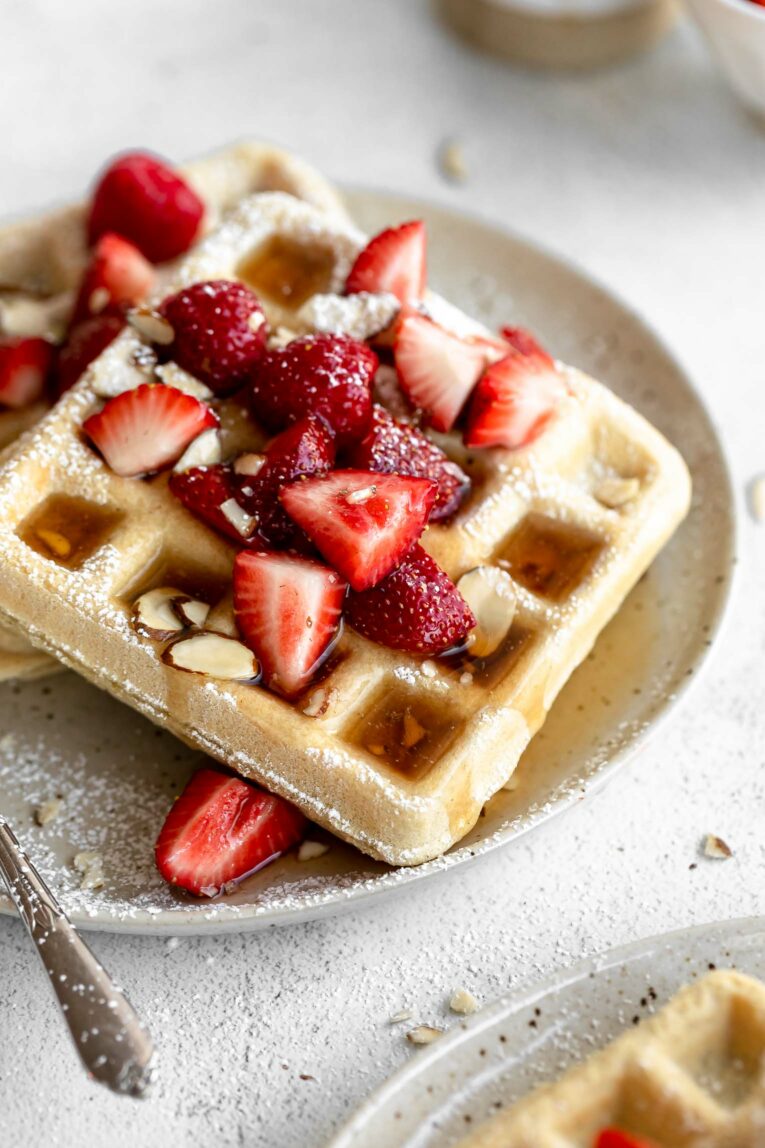
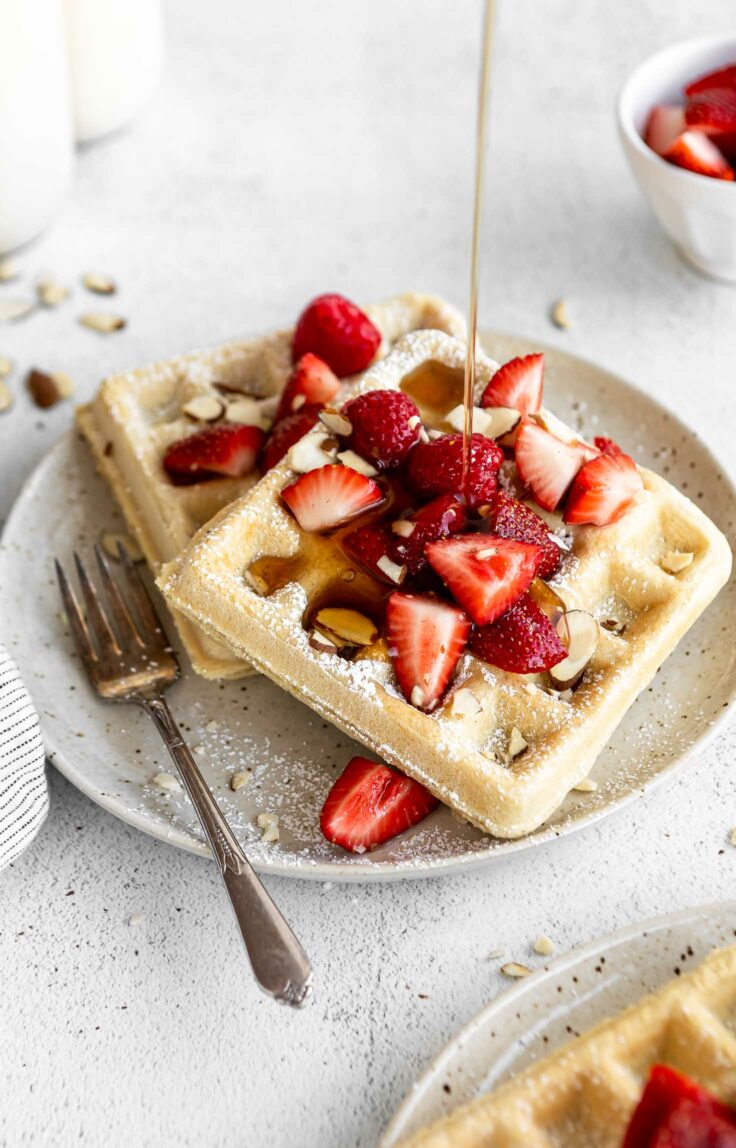
- Serve with fresh fruit and maple syrup, and enjoy!
Toppings and Mix-In Ideas
The best part of waffles? You can make them your own! Whether you’re keeping it classic or getting a little fancy, here are some topping and mix-in ideas to switch things up:
Topping Ideas:
- Fresh fruit – Strawberries, blueberries, sliced bananas, or even a handful of pomegranate seeds!
- Maple syrup – Always a favorite. Warm it up for an extra cozy touch.
- Nut butters – Almond butter or peanut butter take these waffles to the next level.
- Whipped cream – A dollop on top makes it feel like a brunch café treat.
- Yogurt – Adds a little tang and creaminess.
- Chopped nuts – Pecans, almonds, or walnuts for a little crunch.
Mix-In Ideas (add to the batter):
- Mini chocolate chips
- Cinnamon and nutmeg for cozy fall vibes
- Fresh blueberries or diced apples
- Chopped nuts or shredded coconut
- A swirl of peanut butter or Nutella
Troubleshooting This Gluten Free Waffle Recipe
Waffle didn’t turn out the way you expected? Don’t worry! I’ve got you covered with a few quick fixes for common gluten-free waffle issues:
- Too sticky or stuck to the waffle iron?
This usually means your waffle maker wasn’t greased enough or wasn’t hot enough before adding the batter. Make sure it’s fully preheated, and don’t skip the spray or brush of oil! - Too gummy or dense in the middle?
Gummy waffles often happen when there’s too much moisture or the batter isn’t cooked long enough. Try letting the waffle cook a little longer before lifting the lid. You can also reduce the milk slightly next time if the batter feels too thin. - Falling apart when removing?
This can happen if you’re using a flour without xanthan gum or not enough binding agent. Be sure your flour blend includes xanthan gum, or add some in. Let the waffles sit for a minute before removing them from the iron. They firm up as they cool slightly! - Too dry or crumbly?
Add a bit more fat (melted butter or coconut oil) or a splash of milk next time to bring some moisture back into the batter.
Storing Gluten Free Waffles
Let these Gluten-Free Waffles cool completely, then store them in an airtight container (or freezer bag) at room temperature for 2-3 days. They can also be stored in the refrigerator for 3-5 days, or frozen for up to 3 months!
Make Ahead Tip
You can treat these just like store-bought frozen waffles, which makes for an easy weekday breakfast. Just take them out of the freezer, pop them in the toaster, and enjoy!

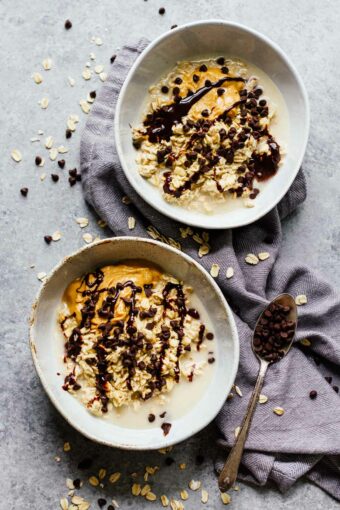
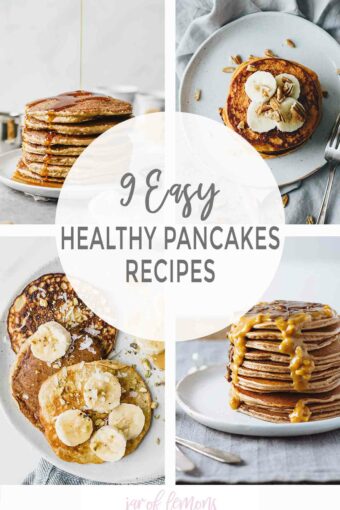
More Gluten-Free Breakfast Recipes You’ll Love
- Giant Air Fryer Breakfast Cookies
- Gluten-Free Blueberry Bread
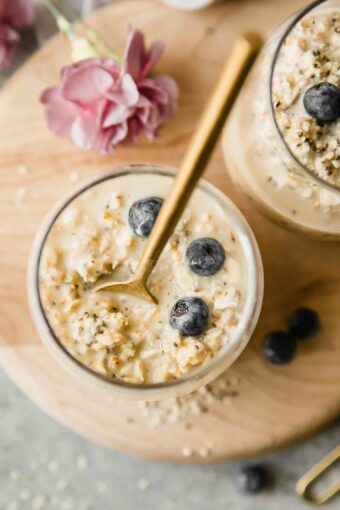
- Strawberry Cheesecake Overnight Oats
- Easy Butternut Squash Pancakes
- Gluten-Free Healthy Rhubarb Muffins
- Blueberry Banana Baked Oatmeal
- Healthy Banana Bread Recipe
Did you make this recipe? Be sure to give it a rating below and tag your photos @jar.of.lemons!

GF Waffle Recipe
Video
Equipment
Ingredients
- 1 cup non-dairy milk
- 3 Tablespoons maple syrup
- 1 teaspoon vanilla
- 1 large egg
- 2 Tablespoons melted butter (dairy or non-dairy) or coconut oil
- 1 1/2 cups gluten-free all-purpose baking flour
- 4 teaspoons baking powder
- 1/2 teaspoon salt
Instructions
- Whisk together all wet ingredients.
- Whisk in the dry ingredients. The batter will be fairly thick, which helps keep the waffles become thick and fluffy.
- Heat and grease the waffle iron. The batter will continue to thicken and almost puff up a bit as it sits because of the baking powder. Give it a good whisk before adding it to the waffle maker.
- Once hot, pour batter into the waffle maker and cook until golden brown, about 3-5 minutes.
- Place the cooked waffles on a wire rack while the others cook to prevent the bottoms from getting soggy.
- Serve with fresh fruit and maple syrup and enjoy!

Mary Cardone says:
Can I can I add cottage cheese to this gluten-free recipe?
Christine McMichael replied:
If you’re adding cottage cheese, I would just follow my Cottage Cheese Waffles recipe and sub the flour with gluten-free all-purpose flour! https://www.jaroflemons.com/cottage-cheese-waffles/